
Creating Xamarin Android SwipeRefreshLayout Using ListView Items
Let’s start,
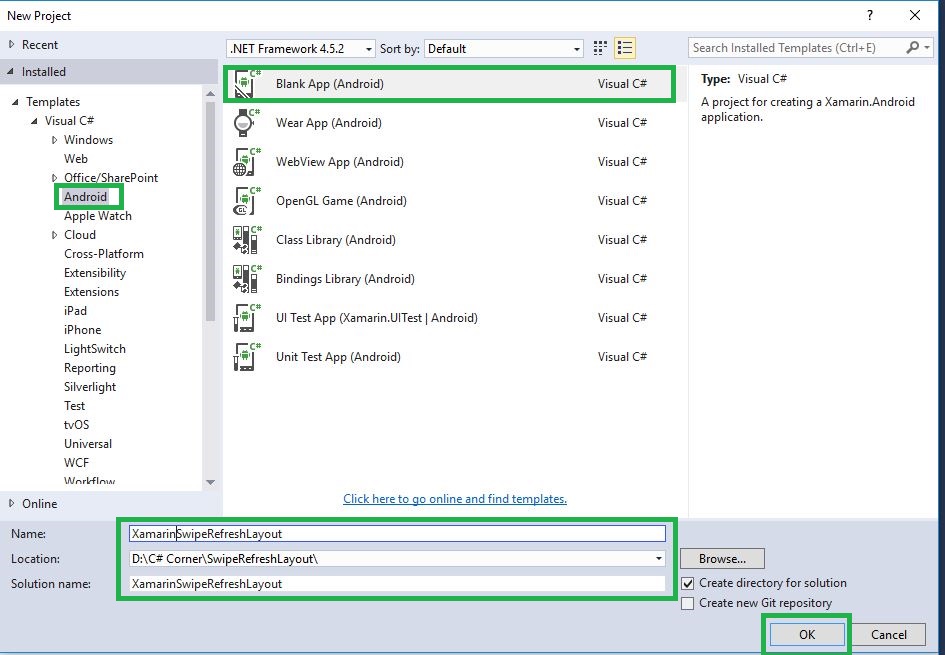
Step 1: Open Visual Studio->New Project->Templates->Visual C#->Android->Blank App. Give the Project Name and Project Location.
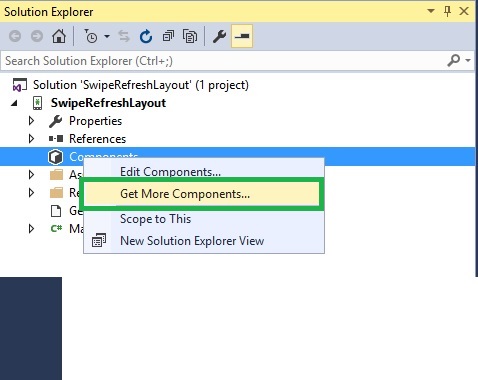
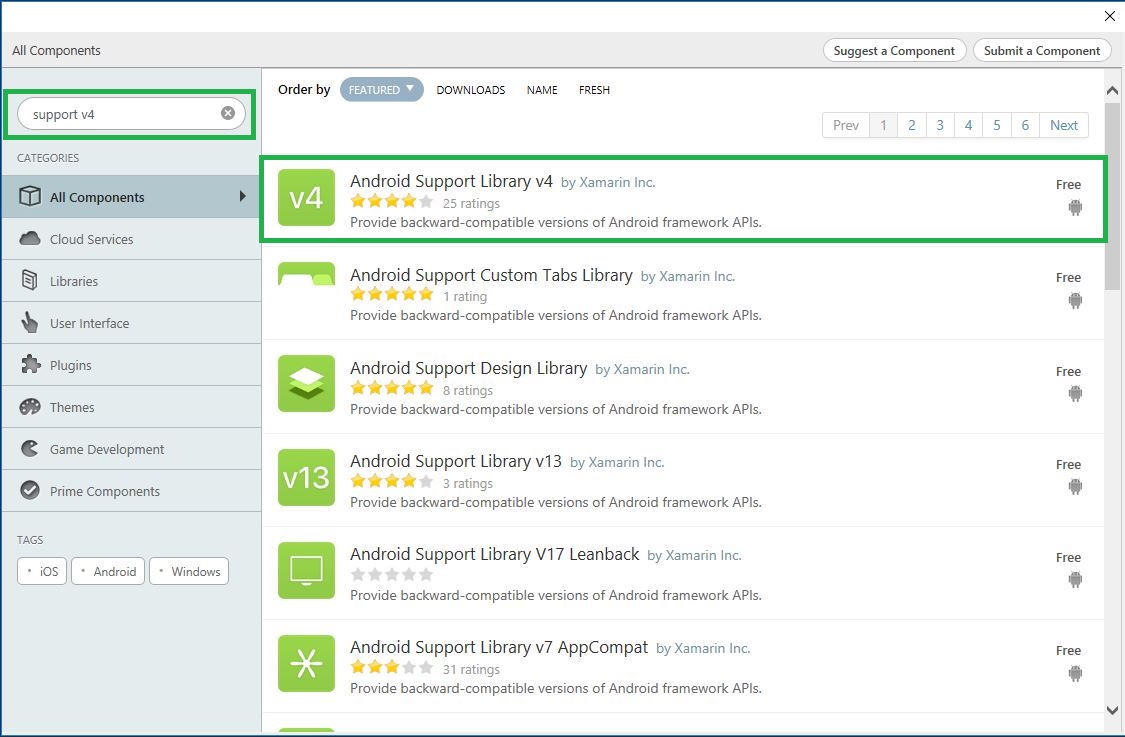
Step 2 : Go to Solution Explorer-> Project Name-> Components, right click to Get More Components and the new dialog box opens. This dialog box is required to search the Support V4, add the Android Support Library V4 Packages.
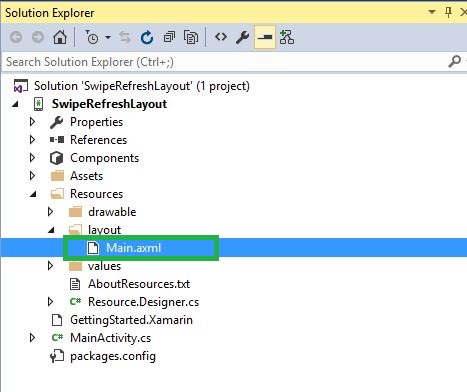
Step 3: To open Solution Explorer, go to -> Project Name->Resources->layout ->Main.axml, click to open Design View and the code, given below,
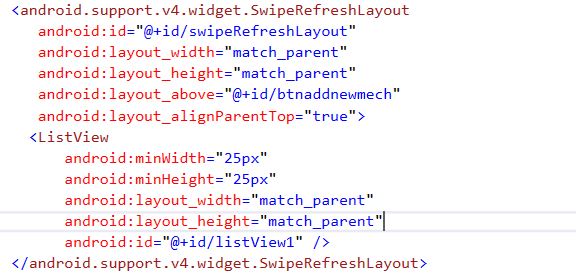
<android.support.v4.widget.SwipeRefreshLayout
android:id="@+id/swipeRefreshLayout"
android:layout_width="match_parent"
android:layout_height="match_parent"
android:layout_above="@+id/btnaddnewmech"
android:layout_alignParentTop="true">
<ListView
android:minWidth="25px"
android:minHeight="25px"
android:layout_width="match_parent"
android:layout_height="match_parent"
android:id="@+id/listView1" />
</android.support.v4.widget.SwipeRefreshLayout>
Step 4: After Design view creation, open Solution Explorer-> Project Name->MainActivity.cs, add the namespaces, given below,

C# Code :
 using Android.Support.V4.Widget;
 using Android.Graphics;
 using System.Collections.Generic;
 using System.ComponentModel;
 using Java.Lang;
Step 5: To create the new variables for RefreshLayout and ListView, one can use the code, given below,

private SwipeRefreshLayout refreshLayout;
private ListView listitem;
Step 6: Go to Oncreate() to declare the list view id and Listview<string>Variable.
Step 7: Next step is to create one List String Item and then add the list view adapter.

C# Code :
listitem = FindViewById < ListView > (Resource.Id.listView1);
List < string > items = new List < string > ();
items.Add("C#");
items.Add("ASP.NET");
items.Add("JAVA");
items.Add("MVC");
items.Add("Swift");
items.Add("JQuery");
items.Add("ASP");
items.Add("JSP");
items.Add("C");
items.Add("PHP");
items.Add("Ruby");
ArrayAdapter < string > liststring = new ArrayAdapter < string > (this, Android.Resource.Layout.SimpleExpandableListItem1, items);
listitem.Adapter = liststring;
Step 8 : After Listview declaration, assign Refresh Layout variables and colors. Here, create one more method for Refresh event. This event is declared after Oncreate().

C# Code :
 refreshLayout = FindViewById < SwipeRefreshLayout > (Resource.Id.swipeRefreshLayout);
 refreshLayout.SetColorSchemeColors(Color.Red, Color.Green, Color.Blue, Color.Yellow);
 refreshLayout.Refresh += RefreshLayout_Refresh;
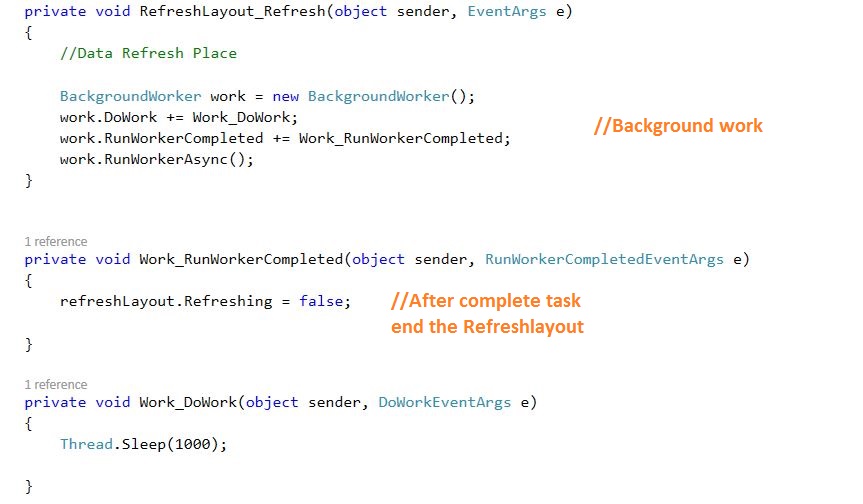
Step 9 : Declare RefreshLayout_refresh method. This method is working in the background process of the layout. Once the work completes, it will terminate the work.
C# Code :
 private void RefreshLayout_Refresh(object sender, EventArgs e)
 {
 //Data Refresh Place
 BackgroundWorker work = new BackgroundWorker();
 work.DoWork += Work_DoWork;
 work.RunWorkerCompleted += Work_RunWorkerCompleted;
 work.RunWorkerAsync();
 }
 private void Work_RunWorkerCompleted(object sender, RunWorkerCompletedEventArgs e) {
 refreshLayout.Refreshing = false;
 }
 private void Work_DoWork(object sender, DoWorkEventArgs e) {
 Thread.Sleep(1000);
 }
Step 10: Press F5 or build and run the Application.
Download Source Code Here
Finally, we successfully created Xamarin Android SwipeRefreshLayout with ListView items.

Anbu Mani(Microsoft MVP) is working Software Engineer in Changepond Technologies, Chennai, Tamilnadu, India. Having 4+ years of experience and his area of interest is C#, ASP.NET, SQL Server, Xamarin and Xamarin Forms,Azure…etc