
Password Strength In Angular
Introduction:
In this article, we are learn form with password input field. We will then add a password strength checker. please follow the below steps.
Password Restrictions:
- Must be minimum 6 character
- Must be a at least one uppercase
- Must be a at least one lowercase
- Must be a at least one special character
- Must be a at least one number
We are validate above rules using Regular Expression.
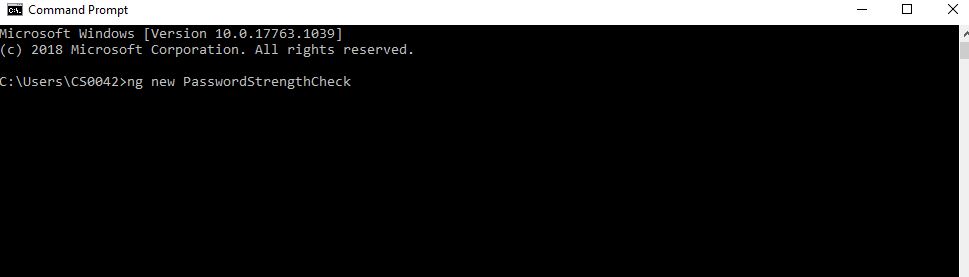
Step 1:
Let’s create an Angular app with the following command:
Step 2:
Open app.module.ts file add the import of reactiveform.
import { FormsModule,ReactiveFormsModule } from '@angular/forms'; After then add the reactiveformsmodule into imports the array
imports: [
    BrowserModule,
    ReactiveFormsModule
  ],
Step 3:
We can use the template-driven form validate. Now open the app.component.ts file and add the following code.
<form>
   <div class="form-group">
            <input type="password" class="form-control" formControlName="password" autocomplete="off" placeholder="Password">
  </div>
</form>
Step 4:
We are using reactive form validation in Angular, so we need to add formgroup property and formcontrolname in the input field .
<form [formGroup]="passwordform">
</form >
We also add the formcontrolname in input filed.
formControlName="chkpassword"Step 5:
Next we need,open then app.componet.ts file and add the following reference file.
import { FormGroup, FormBuilder, Validators } from '@angular/forms';- The formgroup used the state of formcontrol elements .
- The Formbuilder has a new helper class called formbuilder.
- The validators some set of built validators to be used.
Step 6:
We need add to the construtor and ngOnInit methods.
ngOnInit()
  {
    this.passwordform = this.fb.group({
      password: ['', Validators.required],
  });

}
Step 7:
Next step we can create child component to be used for some bars and indicate strength of password.the bars to will be automatically update for different colors.
Create component for following npm command:
Ng g c passwordcheck
This command automatically add to app.module.ts file
Step 8:
We can open the passwordcheck.component.html file and add the following code.
<div class="strength">
    <ul class="barlength">
      <li class="checker" [style.background-color]="length0"></li>
      <li class="checker" [style.background-color]="length1"></li>
      <li class="checker" [style.background-color]="length2"></li>
      <li class="checker" [style.background-color]="length3"></li>
    </ul>
    <br>
    <p style="font-size: 15px;">{{message}}</p>
  </div>
Step 9:
Next ,we can open the passwordcheck.component.ts add the property file.
length0: string;
  length1: string;
  length2: string;
  length3: string;
  message=''
Step 10:
Go to app.component.html page add the passwordcheck child component by using the component selector.
<app-password></app-password>Step 11:
- Let’s open the passwordcheck.component.ts file and create a input property called passwordcheck
@Input() public passwordCheck: string;- Add output for strength.
@Output() Strength = new EventEmitter<boolean>();Step 12:
Create an array colors to be displayed the bars.
private colors = ['red', 'darkorange', 'green', 'darkgreen'];Now create method for check the password strength.add the following code.
private static Strengths(p) {
    let checklen = 0;
    const regex = /[$-/:-?{-~!"^_@`\[\]]/g;

    const lowerLetters = /[a-z]+/.test(p);
    const upperLetters = /[A-Z]+/.test(p);
    const numbers = /[0-9]+/.test(p);
    const symbols = regex.test(p);

    const flags = [lowerLetters, upperLetters, numbers, symbols];

    let Passwordmaches = 0;
    for (const flag of flags) {
      Passwordmaches += flag === true ? 1 : 0;
    }

    checklen += 2 * p.length + ((p.length >= 10) ? 1 : 0);
    checklen += Passwordmaches * 10;

    //Check length
    checklen = (p.length <= 6) ? Math.min(checklen, 3) : checklen;


    checklen = (Passwordmaches === 1) ? Math.min(checklen, 10) : checklen;
    checklen = (Passwordmaches === 2) ? Math.min(checklen, 20) : checklen;
    checklen = (Passwordmaches === 3) ? Math.min(checklen, 30) : checklen;
    checklen = (Passwordmaches === 4) ? Math.min(checklen, 40) : checklen;

    return checklen;
  }
Step 13:
Next step implement of ngonchanges ,add the following code.
ngOnChanges(changes: { [propName: string]: SimpleChange }): void {
   debugger;
    const password = changes.passwordCheck.currentValue;
    this.setBarColors(4, '#DDD');
    if (password) {
      const c = this.getColor(PasswordComponent.Strengths(password));
      this.setBarColors(c.idx, c.col);

      const pwdStrength = PasswordComponent.Strengths(password);

      if(pwdStrength>=30)
      {
      this.Strength.emit(true)
      }
      else
      {
        this.Strength.emit(false)
      }
      switch (c.idx) {
        case 1:
          this.message = 'Weak'+'(Ex:Hari@12345)';
          break;
        case 2:
          this.message = 'Average' +'(Ex:Hari@12345)';
          break;
        case 3:
          this.message = 'Good' +'(Ex:Hari@12345)';
          break;
        case 4:
          this.message = 'Strong';
          break;
      }
    } else {
      this.message = '';
    }
  }

  private getColor(s) {
    let idx = 0;
    if (s <= 10) {
        idx = 0;
    } else if (s <= 20) {
        idx = 1;
    } else if (s <= 30) {
        idx = 2;
    } else if (s <= 40) {
        idx = 3;
    } else {
        idx = 4;
    }
    return {
        idx: idx + 1,
        col: this.colors[idx]
    };
  }

  private setBarColors(count, col) {
    for (let n = 0; n < count; n++) {
        this['length' + n] = col;
    }
  }
Step 15:
Next we are open app.componet.html file add the following code .
  <app-password
          [passwordCheck]="passwordform.value.password"
          (Strength)="passwordValid($event)" >
</app-password>
The Strength the output property and passwordvalid($event) defined the main class.
Get Source Here click.
Summary:
In this article, we have learned how to add child component using selector ,@input and @output decoders for component interaction.

Hello this is Haridhass, working as Software Developer in Congenial Studioss for more than 2+ years. Skilled in Angular,C#.NET, NodeJs,SQL Server,WebApi,Html,CSS,JavaScript,TypeScript