
XLSX File Read In Angular
Interduction:
In this article, I will explain angular component action and how to read an xlsx file. Please follow the below steps.
Whats is Angular:
- Angular is a Client side JavaScript Framework which allows us to create Reactive Client-side Application.
- By design it comes with Modular Approach, so you can reuse the code wherever you want. It supports many inbuilt functionalities
Main of Angular :
- Modules
- Components
- Templates
- Metadata
- Data binding
- Directives
- Services
- Dependency Injection
Angular Component Action:
- app.component.css
- app.component.html
- app.component.spec.ts
- app.component.ts
- app.module.ts
CSS file:
Where we define all the styles for that component. These styles will only be scoped to this component and will not leak to the outside.
HTML file:
Contains the markup to render in the DOM.
Spec File:
Includes the unit tests.
TypeScript File:
Where we define the state (the data to display) and behavior (logic) of our component.
- Angular Server serves the index.html and renders the application view in the browser.
- The index.html contains all the JS, styles, compilation files that are required to run the application.
- The index.html holds the root component (AppComponent) which is bootstrapped from the root model and is loaded 1st.
- The index.html should have only one component that is root component by the directive <app-root></app-root> (template directive).
- The selector property value is used to create and attach the instance of the class in the inner HTML of the element.
- A root component with multiple nested child components.
Requirements for the application:
- NodeJs
- Angular Cli
- Visual studios code IDE
Install Angular Cli:
Once done the node & npm installation after we will install angular cli .
Why We Need Angular CLI:
We use Angular CLI to create projects, generate library files. You can globally install the Angular CLI using the below command.
Npm install –g @angular/cli
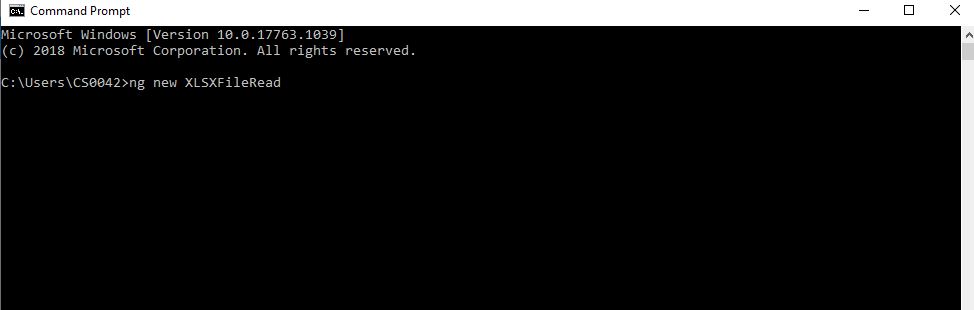
Step: 1
Now create an angular project, and open the terminal command prompt using the below command. Don’t forget adding angular-routing in your project.
Step 2:
Next, we need the open created project in visual studio code and install the xlsx file reference npm using the following command.

Step 3:
Once done the installation, we can add a reference in the app.component.ts file.
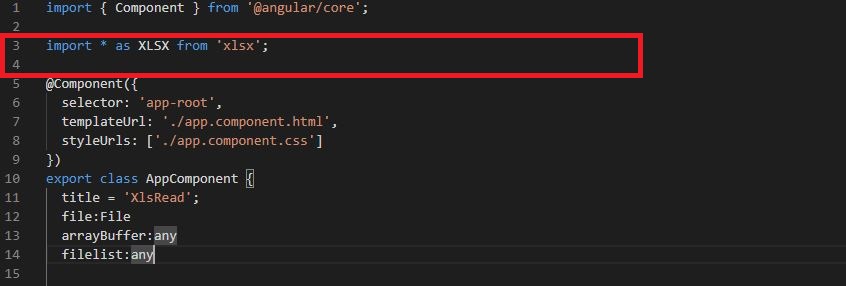
imports:
Modules whose classes are needed by the component of this module.
selector:
Selector tells Angular to create and insert an instance of this component where it finds <product-desc> tag.
For example, if an app’s HTML contains <product-desc></product-desc>, then Angular inserts an instance of the Product Description view between those tags.
templateUrl:
It contains the path of this component’s HTML template.
styleUrls:
We can specify the styles which are related to the current component.
Step 4:
After open the app.component.html file and add the following code .
<div class="col-md-8 form-group">
  <input type="file" class="form-control" (change)="addfile($event)" placeholder="Upload file" accept=".csv,application/vnd.openxmlformats-officedocument.spreadsheetml.sheet, application/vnd.ms-excel">
</div>
Whats Change?
Invoked event Changes every time there is a change in one of the input properties [inputProperty] of the component.
Whats accept?
The accept tag tells the file types users can upload input.
Step 5:
The next step is to open the app.component.ts file and add the following code.
addfile(event)
{
this.file= event.target.files[0];
let fileReader = new FileReader();
fileReader.readAsArrayBuffer(this.file);
fileReader.onload = (e) => {
this.arrayBuffer = fileReader.result;
var data = new Uint8Array(this.arrayBuffer);
var arr = new Array();
for(var i = 0; i != data.length; ++i) arr[i] = String.fromCharCode(data[i]);
var bstr = arr.join("");
var workbook = XLSX.read(bstr, {type:"binary"});
var first_sheet_name = workbook.SheetNames[0];
var worksheet = workbook.Sheets[first_sheet_name];
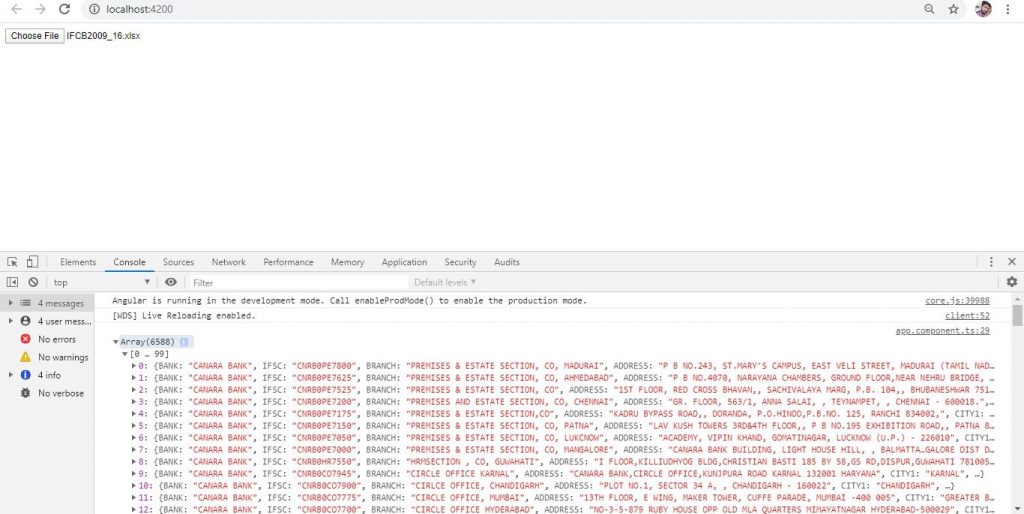
console.log(XLSX.utils.sheet_to_json(worksheet,{raw:true}));
var arraylist = XLSX.utils.sheet_to_json(worksheet,{raw:true});
this.filelist = [];
console.log(this.filelist)
}
}- File reader converting to array buffer.
- After arraybuffer with xlsx convertor.
Step 6:
Once after completing all the above steps, we can run the project using the below commands.
Command:
ng serve –open (OR) ng serve port –4201
Step 7:
Now, the project will run successfully in local browser.
Summary:
I hope you understood this overview of Angular CLI and how to add a .xls file read. Any feedback or queries related to this article are most welcome. If you want this project source code check git or click here.

Hello this is Haridhass, working as Software Developer in Congenial Studioss for more than 2+ years. Skilled in Angular,C#.NET, NodeJs,SQL Server,WebApi,Html,CSS,JavaScript,TypeScript