Get Started DragonBoard 410c with Windows IOT Core
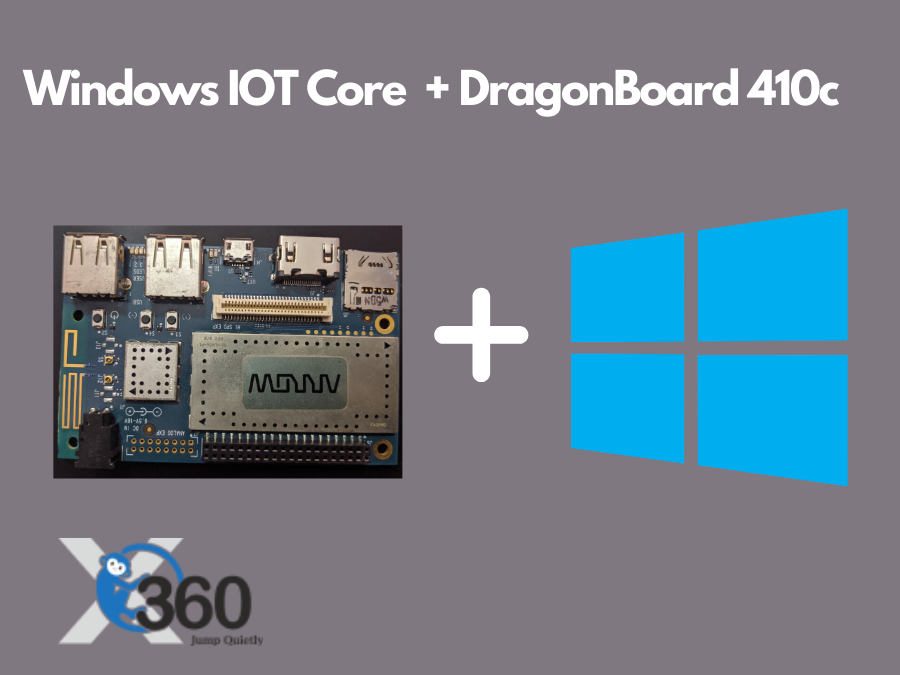
This project, we will see how to install and configure Dragonboard 410C with Windows IoT Core
Prerequisites
Hardware Components
- Qualcomm DragonBoard 410c
- External Mouse and Keyboard
- External Monitor
- USB-A to Mini-USB Cable
Software Services
- Microsoft Windows 10 IoT Core
- Microsoft Windows 10
- Microsoft Windows IOT Core Dashboard
- Win32 Disk Imager
- Qualcomm Dragonboard Update Tool
Let’s start
Introduction
This project, we are going to configure Dragonboard with Windows IoT Core in different ways. The first way is the automatic method and other ways are manual.
Before starting, you must install the required software in Windows 10 Machine
- Windows IoT Core Dashboard – https://docs.microsoft.com/en-us/windows/iot-core/downloads
- Win32 Image Imager – https://sourceforge.net/projects/win32diskimager/files/latest/download
- Windows IoT Core Image or OS – https://www.microsoft.com/en-us/software-download/windows10IoTCore#!
Download and install the above-listed software
Info: If you changing any pin configuration, make sure to board is power off.
Way 1:using Windows IoT Core Dashboard
Here you have two options installation from online or offline.
Options 1: Online Installation
Open Windows IoT Core Dashboard and the left plane select Setup a new device, select Device Type is Qualcomm (Dragonboard 410c), OS Version, Device and check the Terms and condition check box, then click Download and Install.
Note Your device not shown in the select device, long press power button with + Plus button.

Options 2: Offline Installation
First, you need to download .ISO image file from Microsoft Site and install it.
Note ISO Image download URL- https://www.microsoft.com/en-us/software-download/windows10IoTCore#!
After downloading the image, double click the open iso image file and install the installer package. Check the Terms and Conditions and click install.
After installation, you will get a.ffu file in your installed location.

Return back to Windows IoT Core Dashboard and fill the pre-downloaded image field to this.ffu image and click install it.

Now Directly go to Device Setup Instruction, no need to follow other ways.
Way 2:using SD Card
Set the boot switches S6 to 0100
In this way, we going to directly flash the iso file in SD Card and insert into Dragonboard and install Windows IoT Core.
First, download and install Win32 Disk Imager and open it. Now select iso image and storage device, then write it.
Now, set up your Dragonboard, must follow these instructions.
- Power Dragonboard through the power charger
- Connect External Display through HDMI
- Connect Keyboard & Display through USB
- Insert flashed SD card into Dragonboard Storage Device interface
Next, start your Dragonboard, After a few seconds of loading, it will ask to choose your OS, because Dragonboard comes with Android OS, but now inserted SD will contain Windows IoT Core OS If you choose Windows IoT Core OS, the Android OS will destroy and the Windows IoT Core Image installing to Device storage form SD Card, After installation, the device will be automatically restarted and till restarting remove your SD card.

Way 3: using the Dragonboard Update Tool
In this way, we are going to install through USB but using Dragonboard Update Tool
Download and Install Dragonboard Update Tool – http://ess-wiki.advantech.com.tw/view/IoTGateway/BSP/Windows10_IoT_Core
The Windows IoT Core Image was already installed If you didn’t install follow above steps and install it After installation start Dragon Update Tool. Now Connect Dragonboard through USB and Dragonboard Update Tool should detect the board and the connection status should show: “Connected” with Green Mark.

In the Dragonboard Update Tool click the Browse button and select.ffu installed image file you installed. Click the “Program” button and wait for the image to be copied to the board.
OS Setup
reset the boot switches S6 to 0000
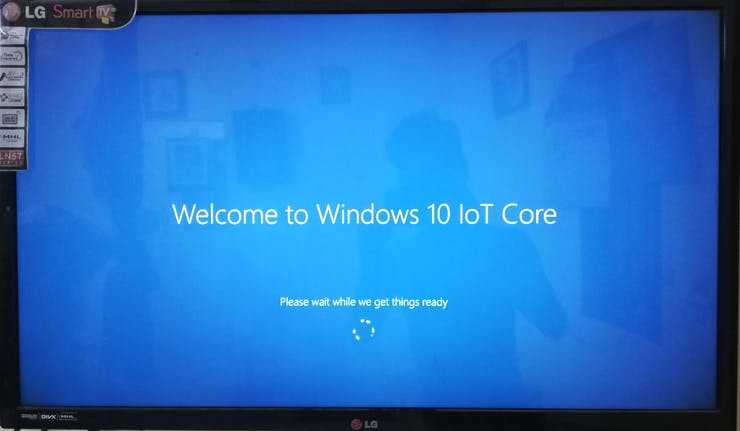
Now connect Display, Keyboard, Mouse, and power up the device, Wait for a few seconds to start the OS installation automatically. Once device is ready to install Windows IoT Core OS
After, the Windows Installation completed, we need to configure the OS settings, first of all, it goes to language settings, select your language and click Next.

Next, choose privacy settings and click Next

Next, accept your Location settings

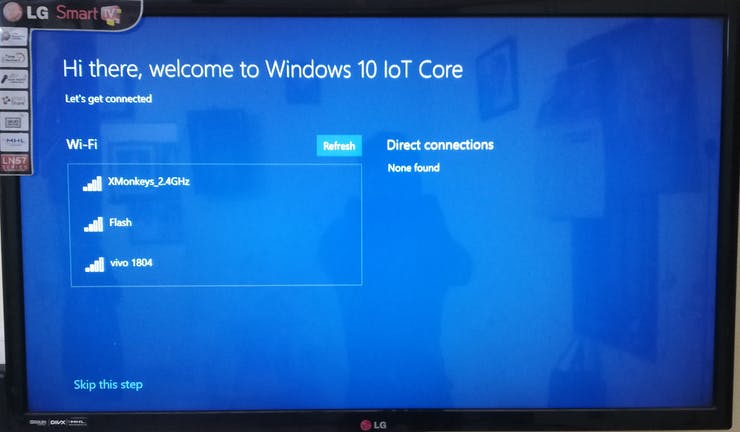
Next, configure your network settings, connect your device to WiFi or skip the step now
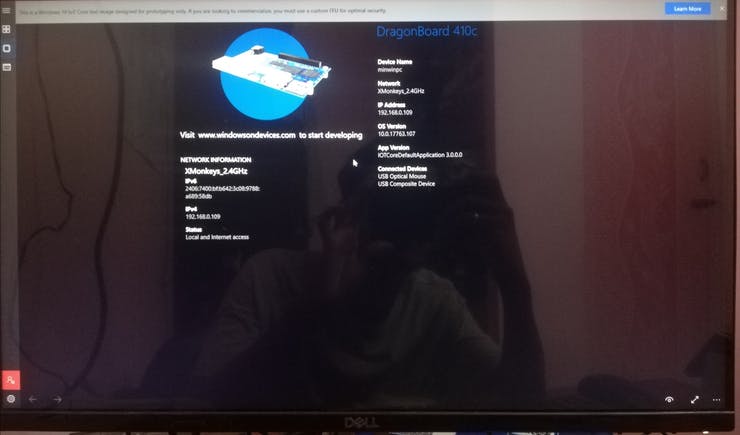
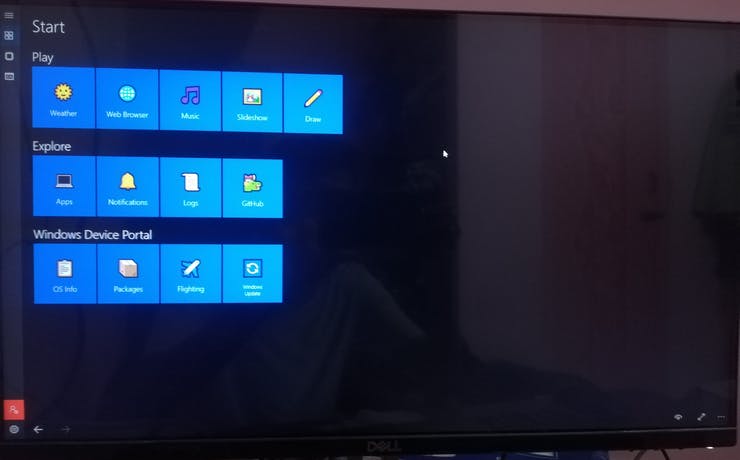
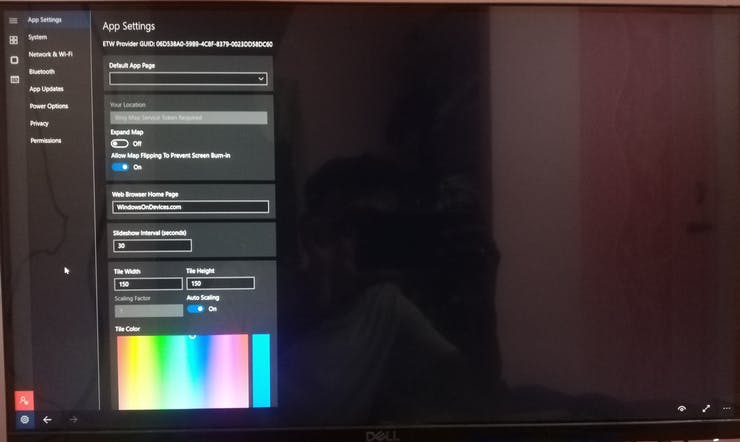
Finally, we configured our device, Windows Start Screen like below and check Start menu, command prompt and settings screens.
WindowsDevicePortal Setup Instruction
- Now Connect USB and Windows IoT Core Dashboard Device list shown your connected device.
- Make sure your host PC can reach the IP which Windows IoT Device gets.
- Right-click the device and open Device Portal in a favorite web browser and your localhost like http://192.168.0.1:8080
- Now a popup window will appear and give username and password to access the device.username: Administratorpassword: p@ssw0rd

Then, you have all the access to Windows Device via Windows Device Portal.

Windows Device portal configuration completed
Conclusion
In this blog, we learned how to Install and Configure the Windows IoT Core with DragonBoard and if you have any queries, comment below.


