
Generate Dynamic Div In Angular

Introduction:
Hello everyone! It feels good to be motivated and share my knowledge in the C# corner community. Thank you, everyone, for your valuable comments. I will share my knowledge continuously by writing articles and blogs hereafter. So, in this time, we have discussed how to generate a dynamic div textbox.
Requirements for the application:
- NodeJs
- Angular Cli
- Visual studios code IDE
Step 1:
Create angular app
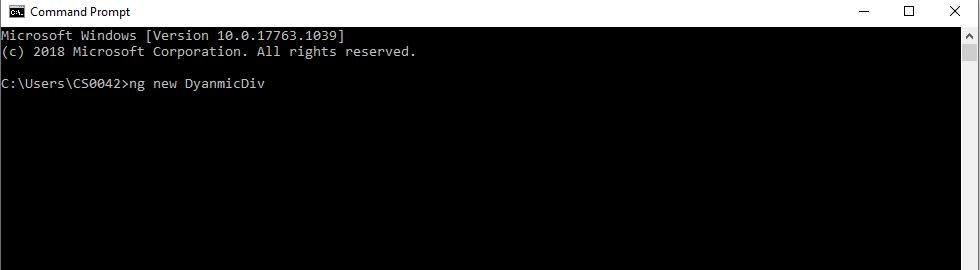
The command to create new angular app “ng new <appname>” .Let’s create an angular app using following commands.
Step 2:
Open the above project that you have created in Visual Studio code.
Step 3:
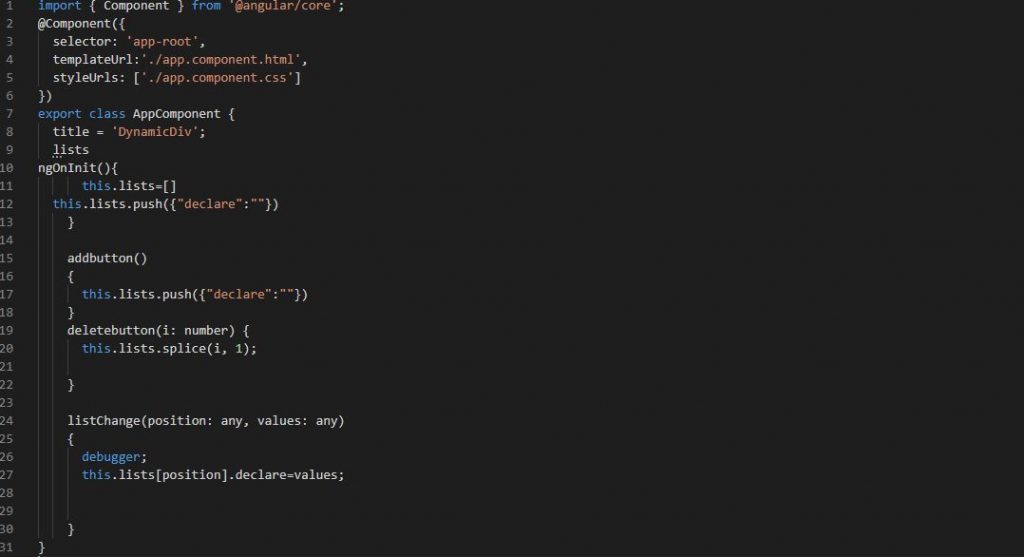
Open the app.component.ts file. This code is a sample designed for the input textbox We can follow the below code:
addbutton()
    {
      this.lists.push({"declare":""})
    }
Here, I have used this function button for generating the input box.
What is Push?
The push() method adds a new item to the end of an array and returns the new length.The next step is to add the following code:
deletebutton(i: number) {
      this.lists.splice(i, 1);
    }
Delete function declare for the delete the your generated input box using for splice .
What is Splice?
The splice() method adds and removes items from an array, and returns the removed items.
Step 3:
Then, we can call the empty array for ngOnIinit.
ngOnInit(){
      this.lists=[]
  this.lists.push({"declare":""})
    }
Whats is ngOnInit?
It’s called once the component is initialized.
Step 4:
Let’s open the app.componet.html file, follow the below code:
- We can assign for array list in ngfor as an index position after getting the div length for inputbox.
- Input box Add the ngModeldirective and ngmodeloptions.
<div class="row" *ngFor="let data of lists; index as i;">
  <div class="col-sm-4" style="margin-top: 1%;">
                <input type="text"  type="text" [value]="data.declare" class="form-control" placeholder="Name" (change)="listChange(i,$event.target.value)"
                ngModel [ngModelOptions]="{standalone: true}">
        </div>
  <div class="col-sm-2">
            <button type="button" class="btn btn-primary" style="margin-top: 10%;" (click)="addbutton()" *ngIf="i==0">Add</button>
            <button type="button" class="btn btn-danger" style="margin-top: 10%;" (click)="deletebutton(i)" *ngIf="i!=0">Delete</button>
        </div>
    </div>
Whats is ngFor?
Its point is to repeat a provided HTML template once for each value in an array, each time passing an array value is a context for string binding. By default, *ngFor has the following local variables.
Whats is Index?
The index of the current item in the iterable.
Whats is Change?
Invoked event changes every time there is a change in one of the input properties [inputProperty] of the component.
What is $event?
Notice $event? It’s optional, and it is used to capture the data which is emitted by the event. It’s useful if you want to invoke a function only for input means just use (input).
What is ngIf?
The ngIfdirective, which is used for what you want to display or remove an element based on a condition. If the condition is a false element, the directive attached to it will be removed from the DOM.
Syntax: ngIf=”condition”
Step 5:
Now, add the change event in the app.componet.ts file.
 listChange(position: any, values: any)
    {
      this.lists[position].declare=values;

    }
Check the position and values and afterwards assign to the object .
Step 6:
After completing all the above steps, we can run the project using the below command:
Command – ng serve –open
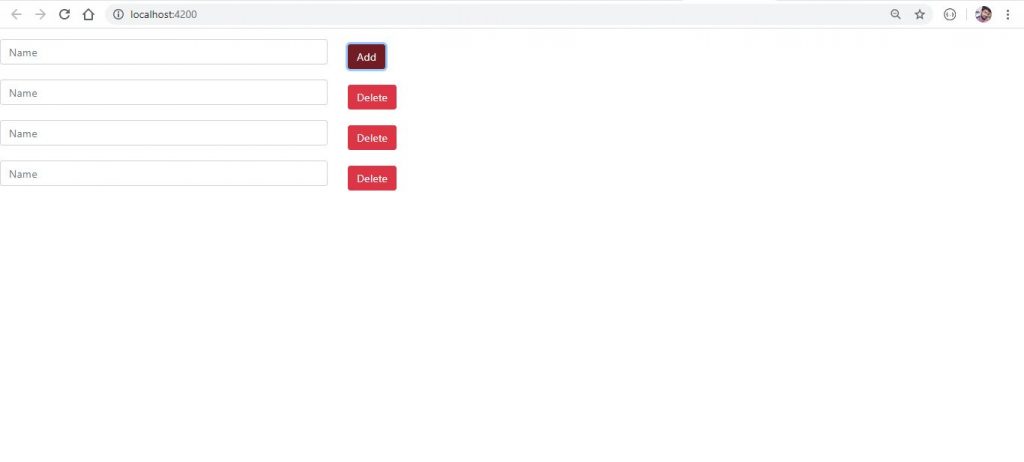
After completing all the above steps we can see the output. Please refer to the above screenshot for your reference.
Summary:
I hope you understand how to add dynamic div. I hope this article is useful to you and please comment below if you have any queries. This project source code available for GitHub click here. Thanks for reading!

Hello this is Haridhass, working as Software Developer in Congenial Studioss for more than 2+ years. Skilled in Angular,C#.NET, NodeJs,SQL Server,WebApi,Html,CSS,JavaScript,TypeScript