
Create Xamarin Android Google Map With Add Markers
Before we create a Google Map application we need Signed Fingerprint SHA1 KEY. So, I already explained how to create SHA1 KEY.
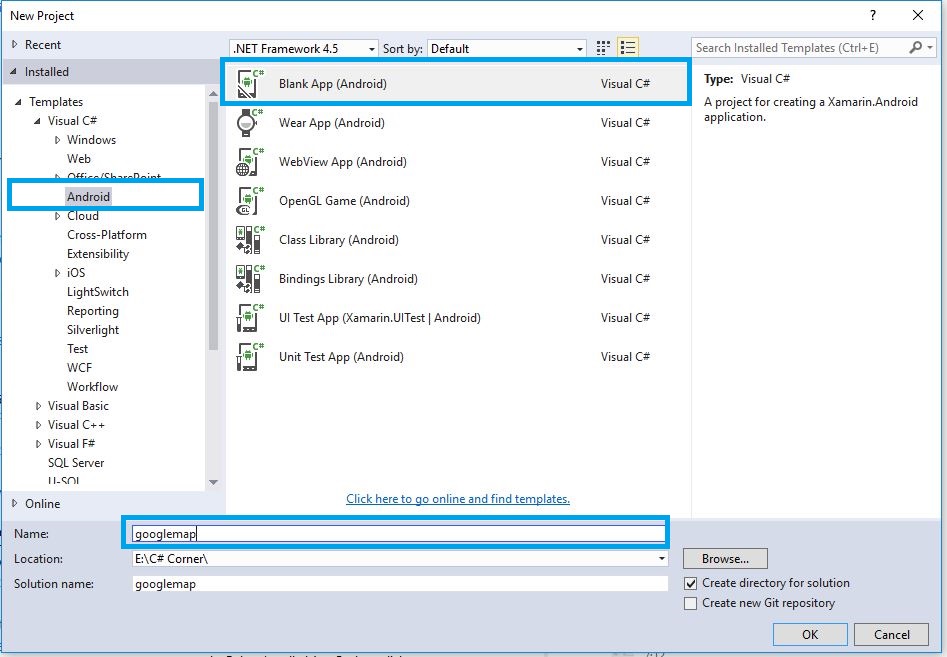
Step 1:Open Visual Studio->New Project->Templates->Visual C#->Android, then click Blank App, and select Blank App. Then give Project Name and Project Location.
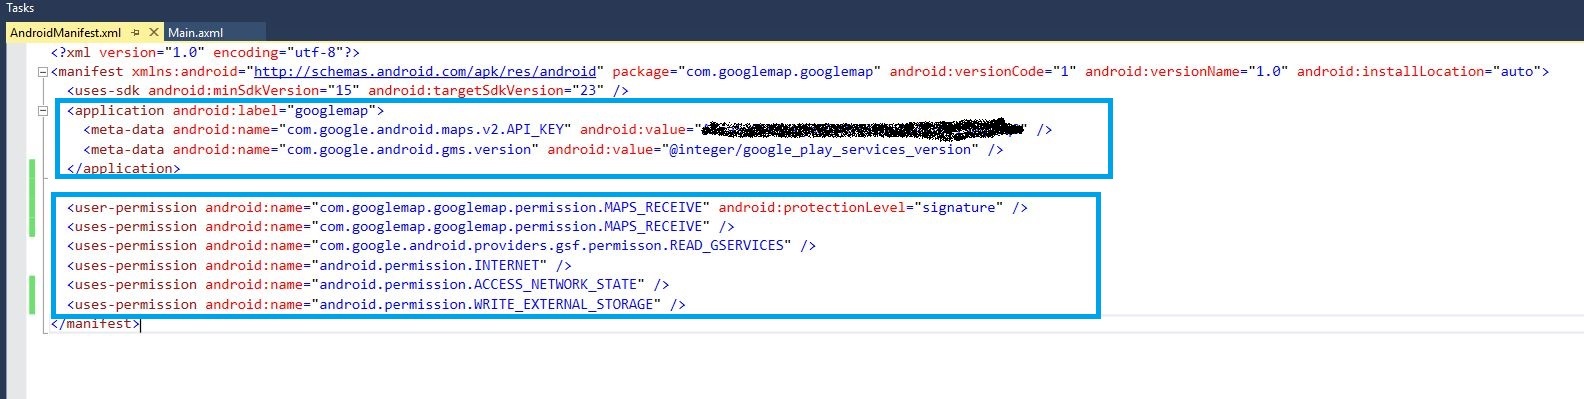
XML Code:
<?xml version="1.0" encoding="utf-8"?>
 <manifest xmlns:android="http://schemas.android.com/apk/res/android" package="com.googlemap.googlemap" android:versionCode="1" android:versionName="1.0" android:installLocation="auto">
 <uses-sdk android:minSdkVersion="15" android:targetSdkVersion="23" />
 <application android:label="googlemap">
 <meta-data android:name="com.google.android.maps.v2.API_KEY" android:value="YOUR_API KEY" />
 <meta-data android:name="com.google.android.gms.version" android:value="@integer/google_play_services_version" />
 </application>
 <user-permission android:name="com.googlemap.googlemap.permission.MAPS_RECEIVE" android:protectionLevel="signature" />
 <uses-permission android:name="com.googlemap.googlemap.permission.MAPS_RECEIVE" />
 <uses-permission android:name="com.google.android.providers.gsf.permisson.READ_GSERVICES" />
 <uses-permission android:name="android.permission.INTERNET" />
 <uses-permission android:name="android.permission.ACCESS_NETWORK_STATE" />
 </manifest>
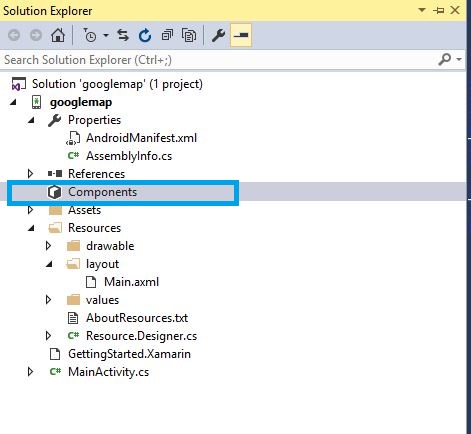
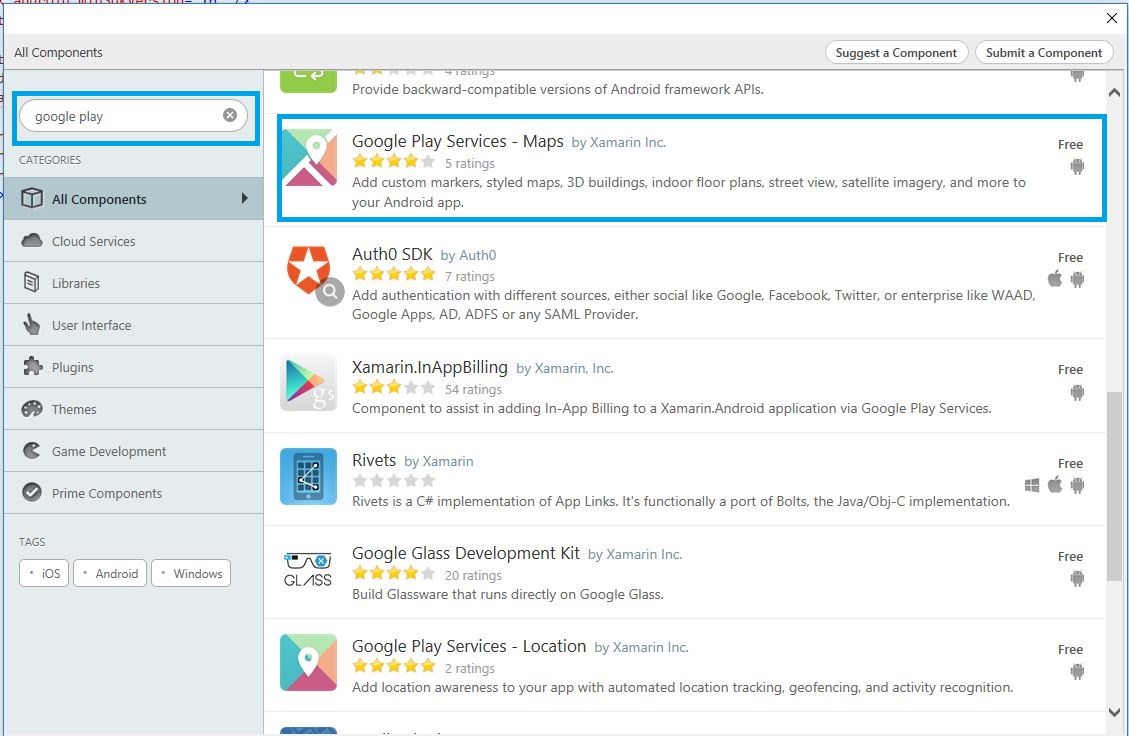
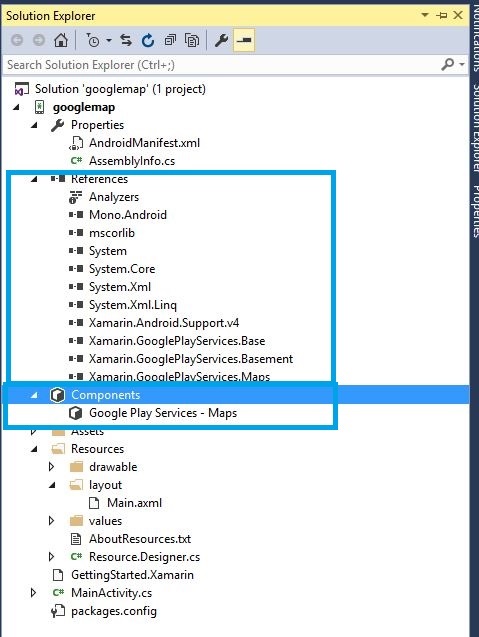
Step 5:Then Add packages Google Play services – Maps, then check Solution Explorer-Project Name->References to be added Google play services packages.
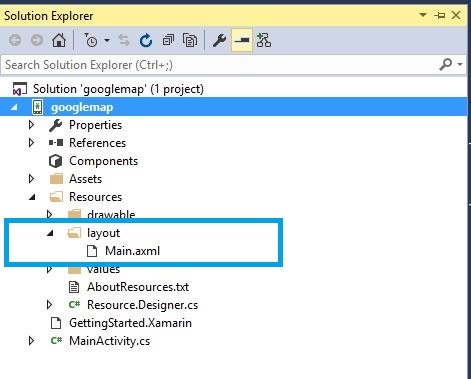
Step 6: Next create Map function. In select Solution Explorer->Project Name->Resources->Layout->Main.axml, Click and open AXML Design Page to added below Code.

XML CODE:
 <?xml version="1.0" encoding="utf-8"?>
 <LinearLayout xmlns:android="http://schemas.android.com/apk/res/android"
 android:orientation="vertical"
 android:layout_width="fill_parent"
 android:layout_height="fill_parent">
 <fragment
 android:id="@+id/googlemap"
 android:layout_width="match_parent"
 android:layout_height="match_parent"
 class="com.google.android.gms.maps.MapFragment" />
 </LinearLayout>
Step 7: Next open MainActivity.cs page, then Add Namespace and following code.
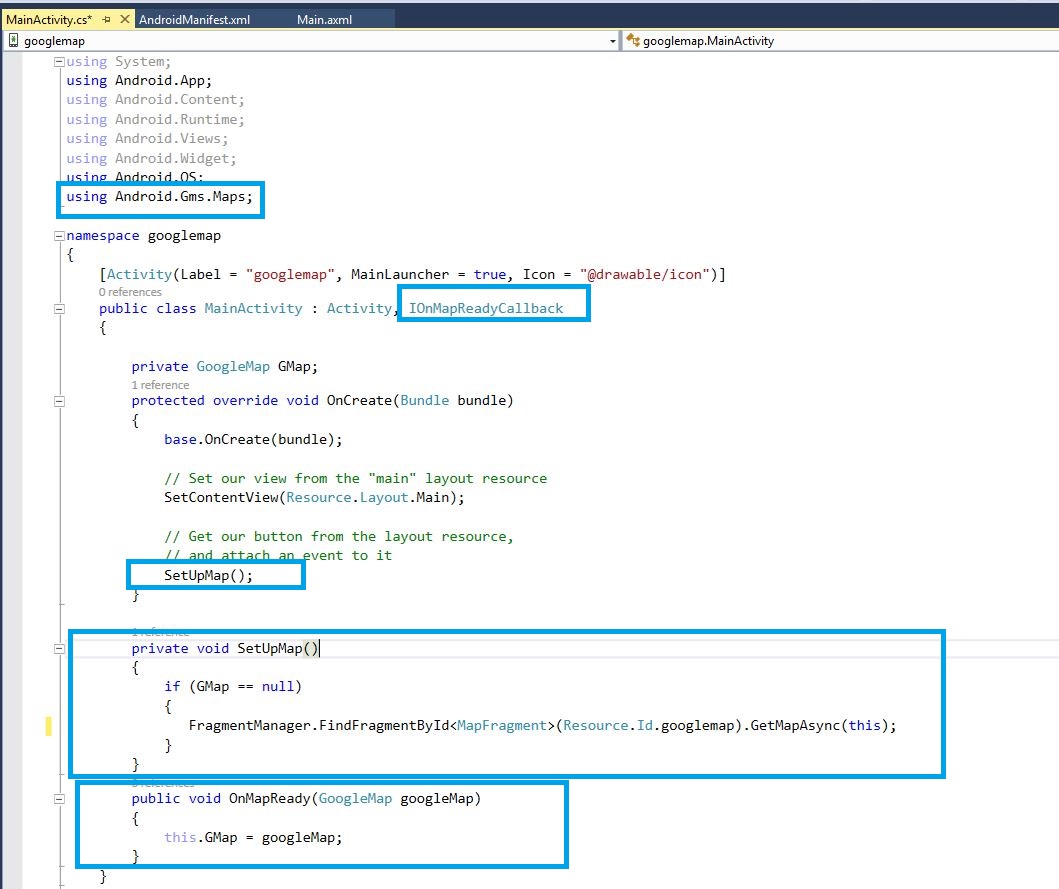
Namespace: using Android.Gms.Maps;
C# Code:
public class MainActivity: Activity, IOnMapReadyCallback
 {
 private GoogleMap GMap;
 protected override void OnCreate(Bundle bundle)
 {
 base.OnCreate(bundle);
 SetContentView(Resource.Layout.Main);
 SetUpMap();
 }
 private void SetUpMap() {
 if (GMap == null) {
 FragmentManager.FindFragmentById < MapFragment > (Resource.Id.googlemap).GetMapAsync(this);
 }
 }
 public void OnMapReady(GoogleMap googleMap) {
 this.GMap = googleMap;
 }
 }
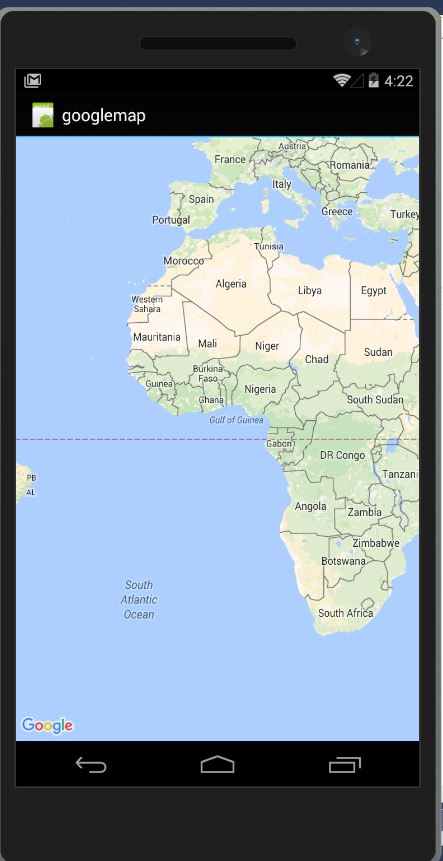
Step 8: Then Debug and run the application then check emulator showing Google map,
Step 9: Next Google map Marker will be added.
Step 10: Open MainActivity.cs page select section of OnMapReady Function to added following code.
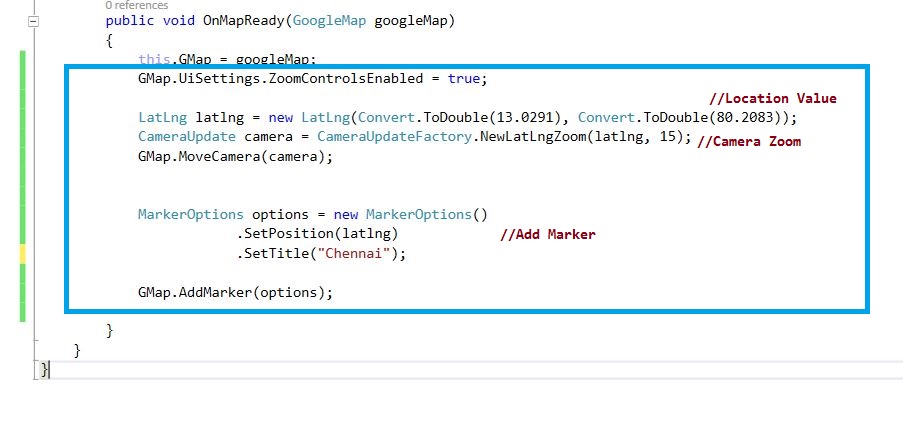
C# Code:
LatLng latlng = new LatLng(Convert.ToDouble(13.0291), Convert.ToDouble(80.2083));
CameraUpdate camera = CameraUpdateFactory.NewLatLngZoom(latlng, 15);
GMap.MoveCamera(camera);
MarkerOptions options = new MarkerOptions().SetPosition(latlng).SetTitle("Chennai");
GMap.AddMarker(options);
Step 11: Then Run the Application,
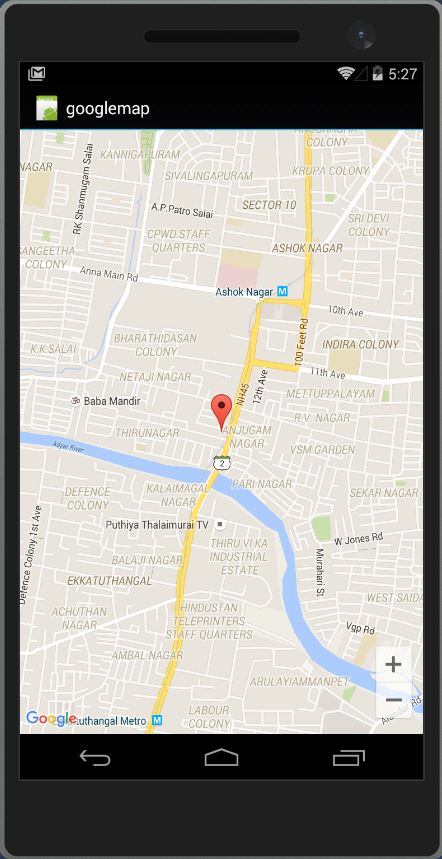
Finally, we have successfully created Xamarin Android Google Map with marker Application.

Anbu Mani(Microsoft MVP) is working Software Engineer in Changepond Technologies, Chennai, Tamilnadu, India. Having 4+ years of experience and his area of interest is C#, ASP.NET, SQL Server, Xamarin and Xamarin Forms,Azure…etc
Thanks, it is quite informative
It works very well for me