
Create Left Navigation Drawer Layout
Here are the steps to create a new Xamarin Android Left Navigation Drawer Layout.
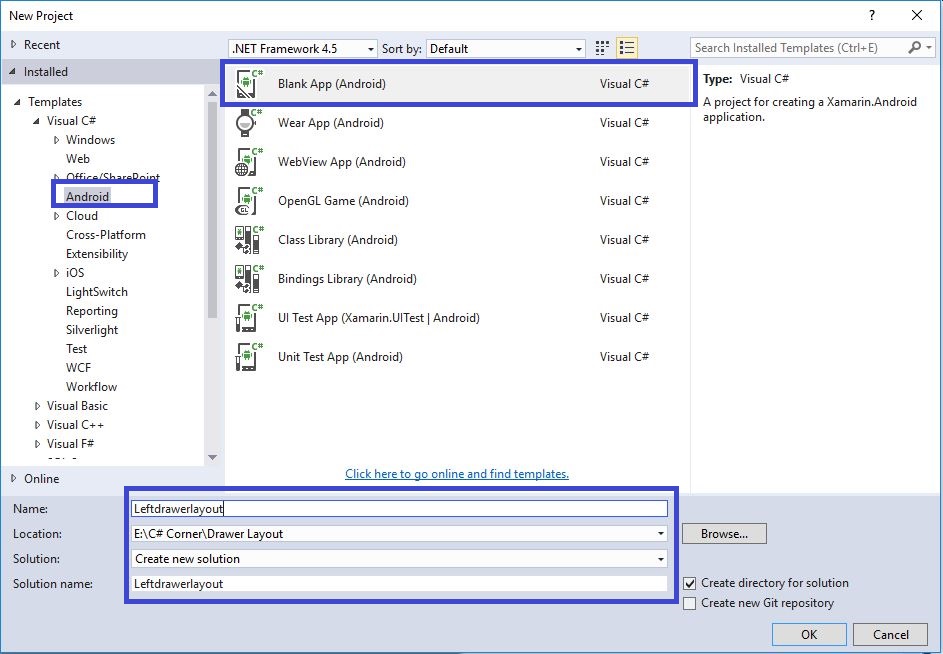
Step 1 : Open Visual Studio->New Project->Templates->Visual C#->Android, click Blank App (Android).Then give Project Name and Project Location.
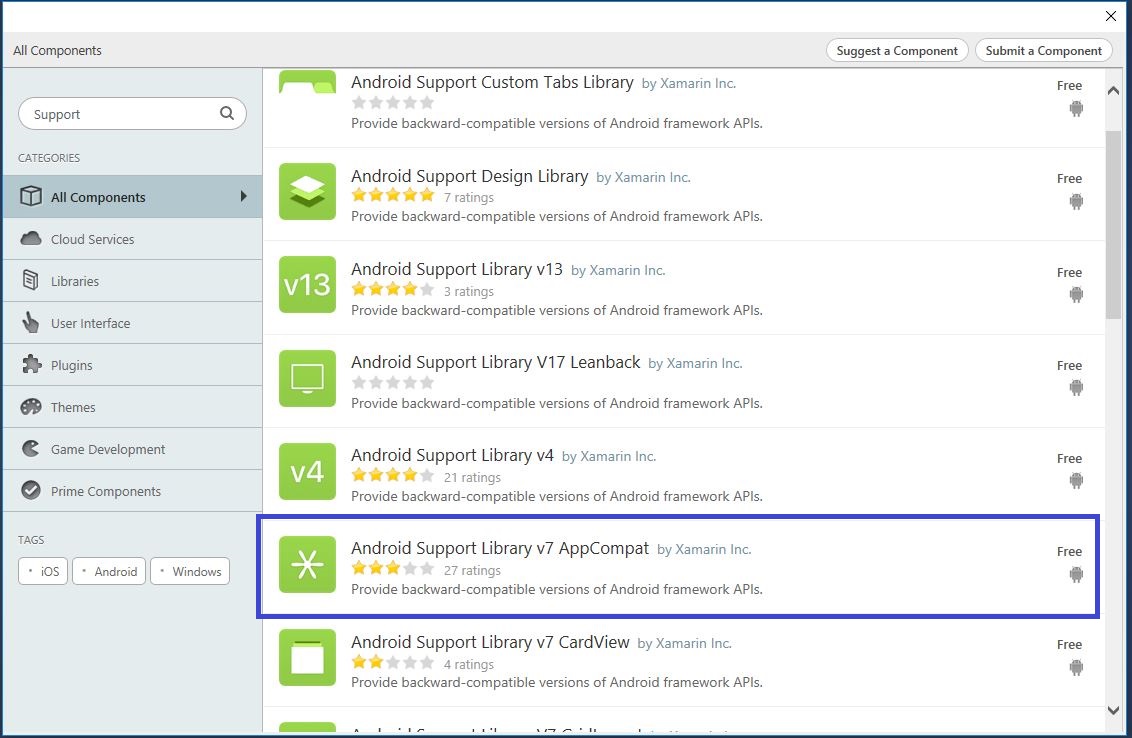
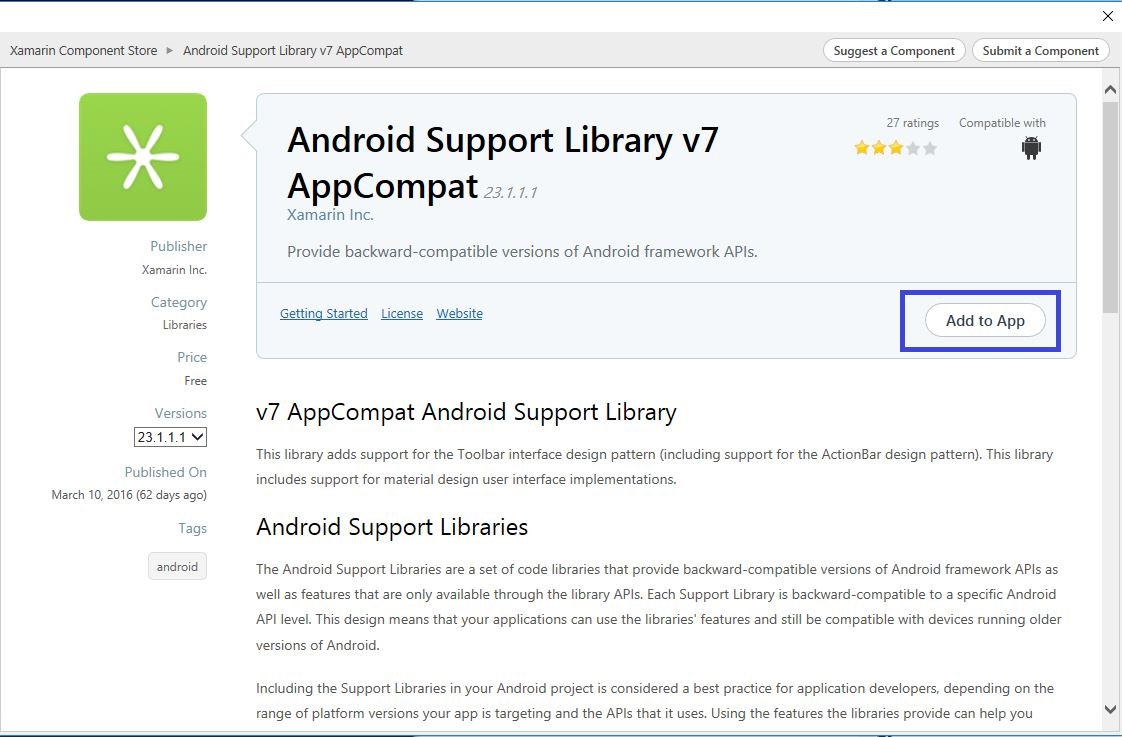
Step 2 : Next we add V7 AppCompat References. Click Solution Explorer->Project Name->Components, then Right Click Get More Components to select, then popup window is visible. Search the Appcompat and then click to Add to App.

Step 3 : Next create menu folder. Go to Solution Explorer->Project Name->Resources, Right Click Add New Folder give the name for menu.
Step 4 : Next go to Solution Explorer->Project Name->Resources->menu, then Right Click Add New Item. Select XML and give the name for menu.xml.
Step 5 : Create two xml for Colors and Styles. Select Solution Explorer->Project Name->Resources->values, then Right Click Add New Item. Select XML give the name for styles and colors.
<?xml version="1.0" encoding="utf-8"?>
<menu
 xmlns:android="http://schemas.android.com/apk/res/android">
 <group android:checkableBehavior="single">
 <item
android:id="@+id/nav_home"
android:title="Home" />
 <item
android:id="@+id/nav_messages"
android:title="Messages" />
 <item
android:id="@+id/nav_about"
android:title="About" />
 <item
android:id="@+id/nav_FeedBack"
android:title="FeedBack" />
 </group>
</menu>
 <?xml version="1.0" encoding="utf-8"?>
 <resources>
 <style name="Theme.DesignDemo" parent="Base.Theme.DesignDemo"></style>
 <style name="Base.Theme.DesignDemo" parent="Theme.AppCompat.Light.NoActionBar">
 <item name="colorPrimary">#2196F3</item>
 <item name="colorPrimaryDark">#1976D2</item>
 </style>
 </resources>
Step 8 : Next, open Colors.xml to create colors
<?xml version="1.0" encoding="utf-8" ?>
<resources>
 <color name="ColorPrimary">#2196F3</color>
 <color name="ColorPrimaryDark">#1976D2</color>
 <color name="accent">#E040FB</color>
</resources>
Step 9 : Then open Main.axml file and create DrawerLayout and Navigation
<?xml version="1.0" encoding="utf-8"?>
<LinearLayout
 xmlns:android="http://schemas.android.com/apk/res/android"
 xmlns:app="http://schemas.android.com/apk/res-auto"
android:orientation="vertical"
android:layout_width="match_parent"
android:fitsSystemWindows="true"
android:layout_height="match_parent">
 <android.support.v7.widget.Toolbar
android:id="@+id/toolbar"
android:layout_width="match_parent"
android:layout_height="wrap_content"
android:minHeight="?attr/actionBarSize"
android:background="#33B86C"
app:popupTheme="@style/ThemeOverlay.AppCompat.Light"
app:layout_scrollFlags="scroll|enterAlways" />
 <android.support.v4.widget.DrawerLayout
android:id="@+id/drawer_layout"
android:layout_height="match_parent"
android:fitsSystemWindows="true"
android:layout_width="match_parent">
 <RelativeLayout
android:orientation="vertical"
android:layout_width="match_parent"
android:layout_height="match_parent" />
 <android.support.design.widget.NavigationView
android:id="@+id/nav_view"
android:layout_height="match_parent"
android:layout_width="200dp"
android:layout_gravity="start"
android:fitsSystemWindows="true"
app:menu="@menu/menu" />
 </android.support.v4.widget.DrawerLayout>
</LinearLayout>
Step 10 : Next to open MainActivity.cs to give the following code.
 using System;
 using Android.App;
 using Android.Content;
 using Android.Runtime;
 using Android.Views;
 using Android.Widget;
 using Android.OS;
 using V7Toolbar = Android.Support.V7.Widget.Toolbar;
 using Android.Support.V7.App;
 using Android.Support.V4.Widget;
 using Android.Support.Design.Widget;
 namespace Leftdrawerlayout
 {
 [Activity(Label = "Leftdrawerlayout", Theme = "@style/Theme.DesignDemo", MainLauncher = true, Icon = "@drawable/icon")]
 public class MainActivity: AppCompatActivity
 {
 DrawerLayout drawerLayout;
 NavigationView navigationView;
 protected override void OnCreate(Bundle bundle)
 {
 base.OnCreate(bundle);
 SetContentView(Resource.Layout.Main);
 var toolbar = FindViewById < V7Toolbar > (Resource.Id.toolbar);
 SetSupportActionBar(toolbar);
 SupportActionBar.SetDisplayHomeAsUpEnabled(true);
 SupportActionBar.SetDisplayShowTitleEnabled(false);
 SupportActionBar.SetHomeButtonEnabled(true);
 SupportActionBar.SetHomeAsUpIndicator(Resource.Drawable.ic_menu);
 drawerLayout = FindViewById < DrawerLayout > (Resource.Id.drawer_layout);
 navigationView = FindViewById < NavigationView > (Resource.Id.nav_view);
 }
 public override bool OnOptionsItemSelected(IMenuItem item)
 {
 switch (item.ItemId)
 {
 case Android.Resource.Id.Home:
 drawerLayout.OpenDrawer(Android.Support.V4.View.GravityCompat.Start);
 return true;
 }
 return base.OnOptionsItemSelected(item);
 }
 }
 }
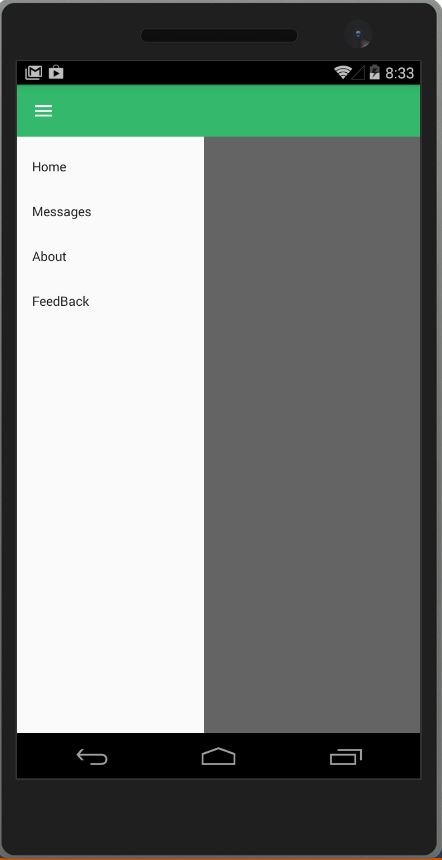
Step 11 : Then Debug and run the app
Download Source Here
Finally, we have successfully created Xamarin Android Left Navigation Drawer Layout Application.

Anbu Mani(Microsoft MVP) is working Software Engineer in Changepond Technologies, Chennai, Tamilnadu, India. Having 4+ years of experience and his area of interest is C#, ASP.NET, SQL Server, Xamarin and Xamarin Forms,Azure…etc
Hi, this doesn’t seem to work for, is everything up to date?
Hi, this Article is old design.. Try to use this one https://xmonkeys360.com/2018/01/24/create-android-navigation-drawer-layout-using-support-design