
Create Android Navigation Drawer Layout Using Support Design
Let’s start,
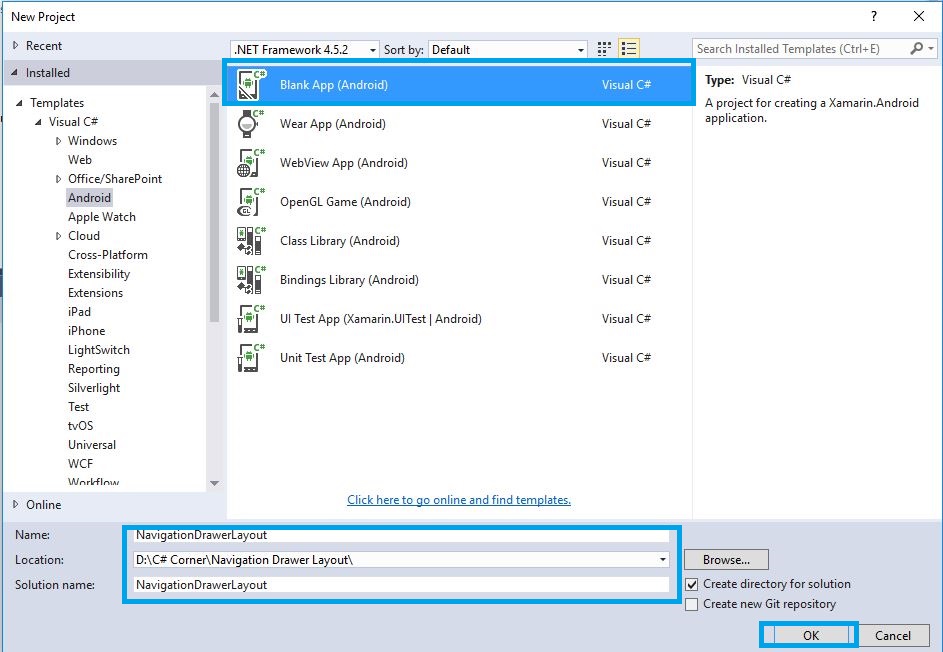
Step 1: Open Visual Studio->New Project->Templates->Visual C#->Android->Blank app,then Give the project name and project location.
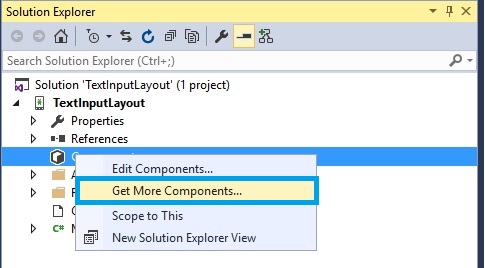
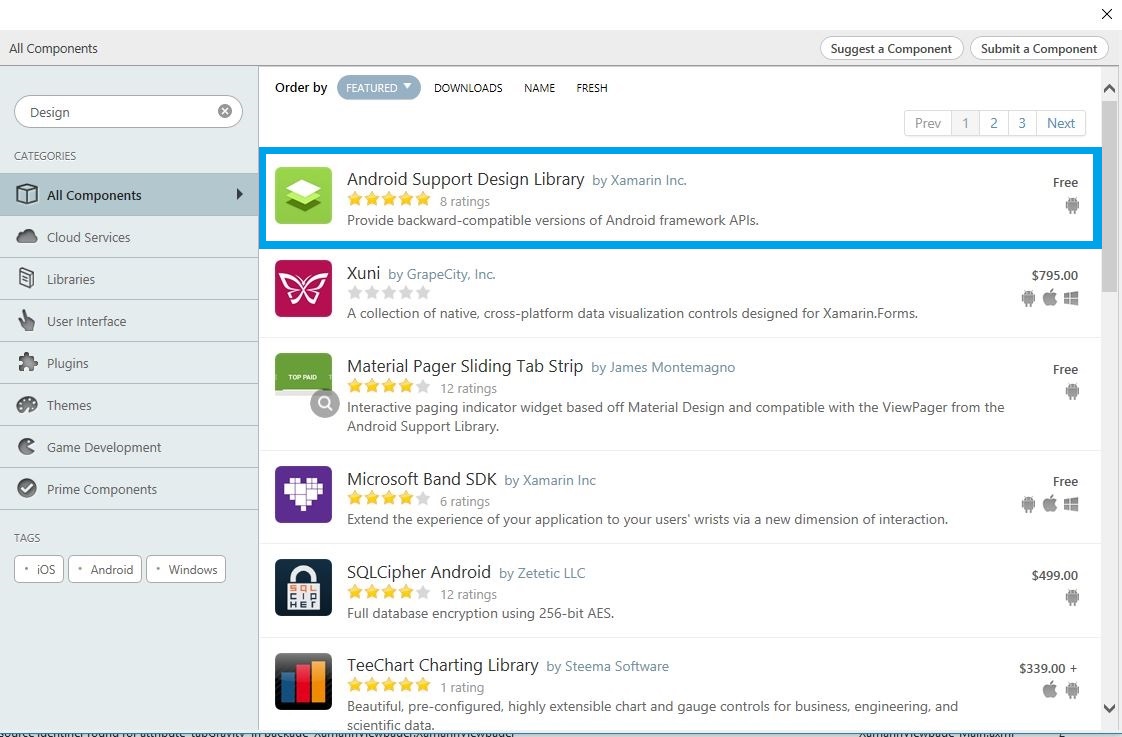
Step 2: Go to Solution Explorer-> Project Name-> Components, right click to Get More Components, open new dialog box. This dialog box is required to search the Design, add Android Support Design Library Packages.
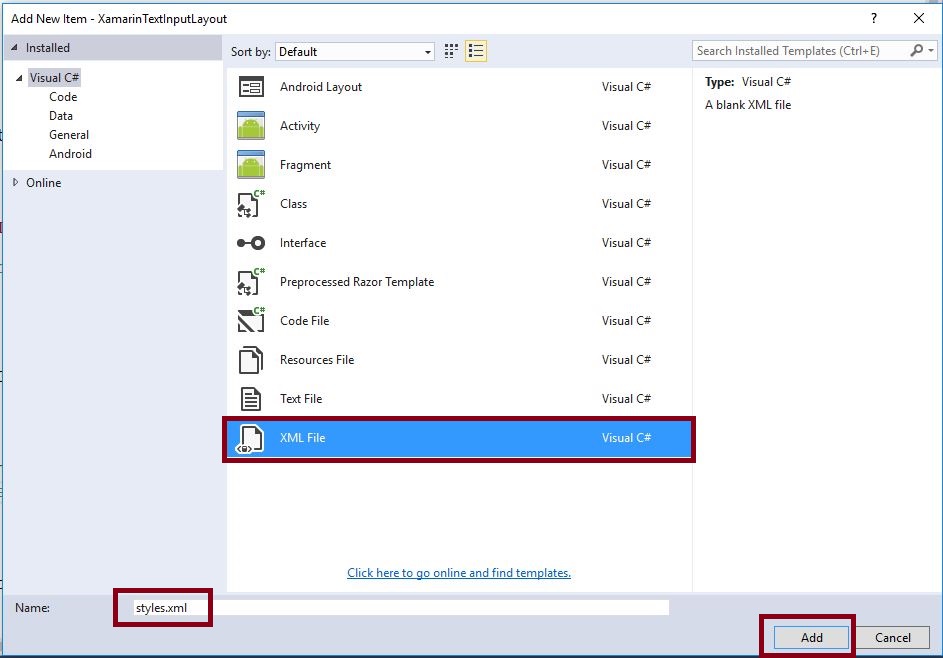
Step 3: Add Theme.AppCompat.Light.NoActionBar. Create styles.xml file. Go to Solution Explorer-> Project Name->Resources->values, right click to Add->New Item, open new dialog box. Select XML file and give the name for styles.xml,
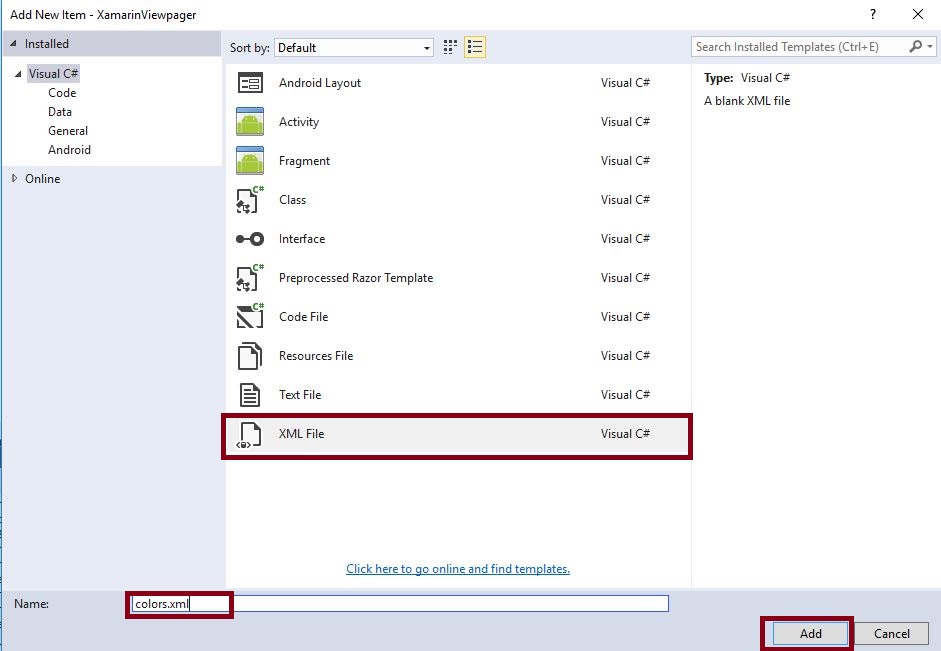
Step 4: Create colors.xml file. Go to Solution Explorer-> Project Name->Resources->values. Right click to Add->New, open new dialog box. Select XML file give for colors.xml.
Step 5: Open Solution Explorer-> Project Name->Resources->values->colors.xml. Click to open Design View and the code, given below,
 <?xml version="1.0" encoding="utf-8" ?>
 <resources>
 <color name="window_background">#8AA5B9</color>
 </resources>
Step 6: Open Solution Explorer-> Project Name->Resources->values->styles.xml. Click to open Design View and the code, given below,
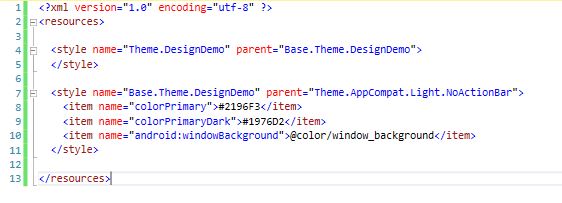
 <?xml version="1.0" encoding="utf-8" ?>
 <resources>
 <style name="Theme.DesignDemo" parent="Base.Theme.DesignDemo">

 </style>
 <style name="Base.Theme.DesignDemo" parent="Theme.AppCompat.Light.NoActionBar">
 <item name="colorPrimary">#2196F3</item> <item name="colorPrimaryDark">#1976D2</item> <item name="android:windowBackground">@color/window_background</item>
 </style>
 </resources>
Step 7: Open Solution Explorer-> Project Name->Resources->values->Strings.xml. Click to open Design View and the code, given below
<string name="drawer_open">Open</string>
<string name="drawer_close">Close</string>
Step 8: Open the menu list to add one XML file. Go to Solution Explorer-> Project Name->Resources-> right click to Add->New Folder and give the name to the menu.
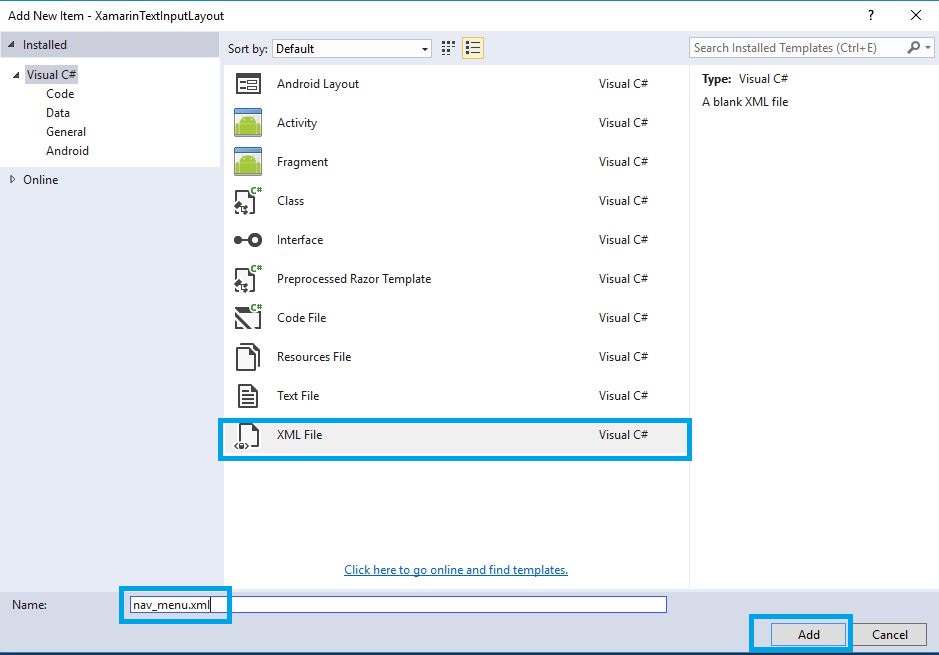
Step 9: Open Solution Explorer-> Project Name->Resources->menu. Right click to Add->New Item, open new Dialog box. Select XML file and give the name for nav_menu.xml,
Step 10: Open Solution Explorer-> Project Name->Resources->menu->nav_menu.xml. Click to open Design View and the code, given below,
<?xml version="1.0" encoding="utf-8" ?>
<menu xmlns:android="http://schemas.android.com/apk/res/android">
<group android:checkableBehavior="single">
<item
android:id="@+id/nav_home"
android:icon="@drawable/ic_dashboard"
android:title="Home" />
<item
android:id="@+id/nav_messages"
android:icon="@drawable/ic_event"
android:title="Messages" />
<item
android:id="@+id/nav_friends"
android:icon="@drawable/ic_headset"
android:title="Friends" />
<item
android:id="@+id/nav_discussion"
android:icon="@drawable/ic_forum"
android:title="Discussion" />
</group>
<item
android:title="Sub items">
<menu>
<item
android:icon="@drawable/ic_dashboard"
android:title="Sub item 1" />
<item
android:icon="@drawable/ic_forum"
android:title="Sub item 2" />
<item
android:icon="@drawable/ic_done"
android:title="Sub item 5" /> </menu>
</item>
</menu>
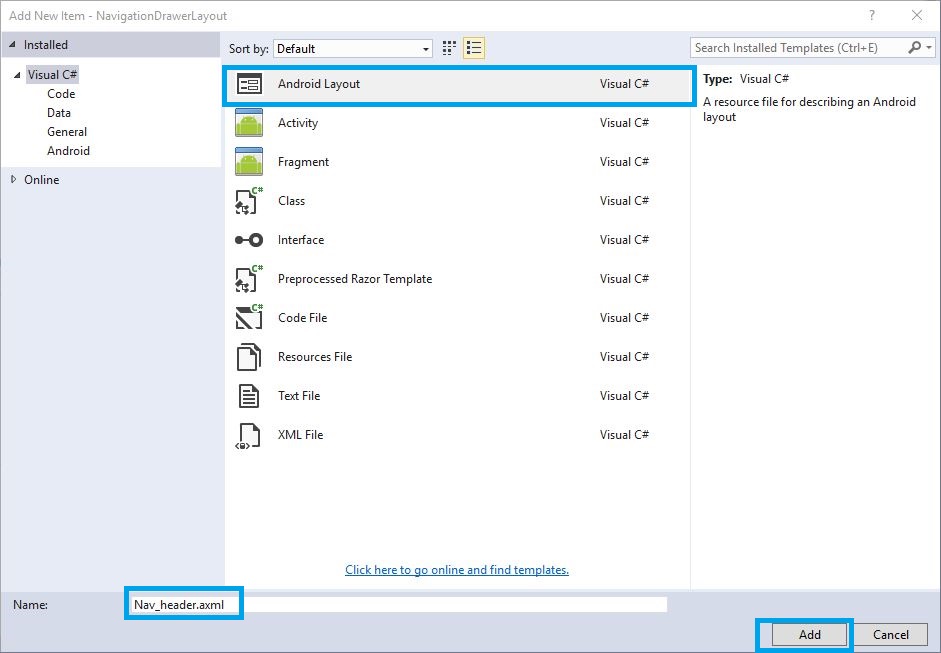
Step 11: Open Solution Explorer-> Project Name->Resources->layout. Right click to Add->New Item and open the new Dialog box. Select axml file and give name for nav_header.axml.
Step 12: Open Solution Explorer-> Project Name->Resources->Layout->nav_header.axml. Click to open Design View and the code, given below,
 <?xml version="1.0" encoding="utf-8"?>
 <LinearLayout xmlns:android="http://schemas.android.com/apk/res/android"
 xmlns:app="http://schemas.android.com/apk/res-auto"
 android:layout_width="match_parent"
 android:layout_height="210dp"
 android:background="#0099ff"
 android:padding="16dp"
 android:orientation="vertical"
 android:gravity="bottom">
 <TextView
 android:text="User Name"
 android:layout_width="match_parent"
 android:layout_height="wrap_content"
 android:id="@+id/navheader_username"
 android:textAppearance="@style/TextAppearance.AppCompat.Body1" />
 </LinearLayout>
Step 13: Open Solution Explorer-> Project Name->Resources->layout, right click to Add->New Item. Open new Dialog box. Select axml file and give the name for toolbar.axml,
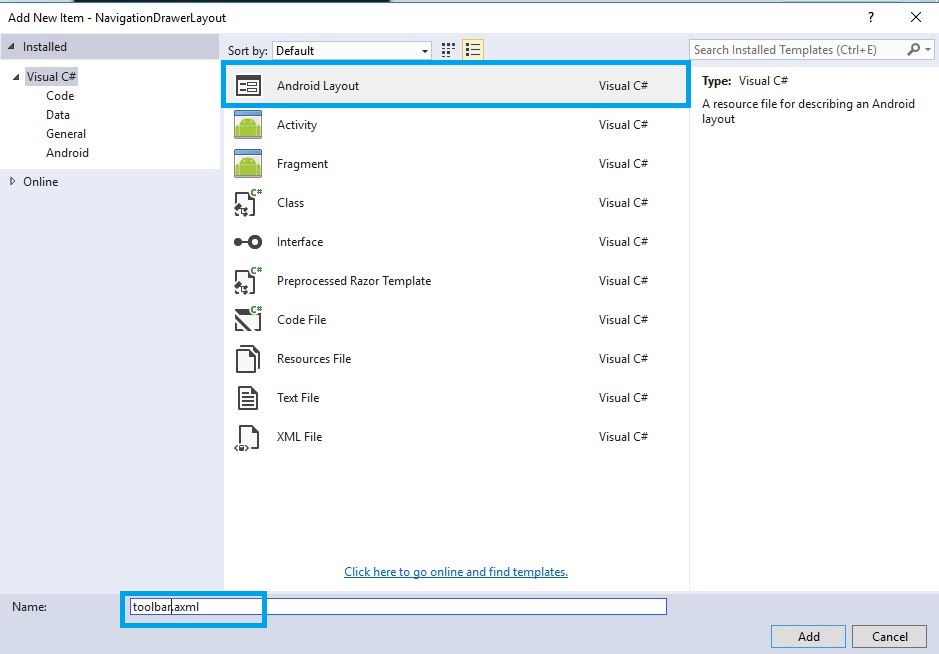
Step 14: Open Solution Explorer-> Project Name->Resources->Layout->toolbar.axml. Click to open Design View and the code, given below,
<?xml version="1.0" encoding="utf-8"?>
<android.support.design.widget.CoordinatorLayout xmlns:android="http://schemas.android.com/apk/res/android"
 xmlns:app="http://schemas.android.com/apk/res-auto"
 android:id="@+id/main_content"
 android:layout_width="match_parent"
 android:layout_height="match_parent">
 <android.support.design.widget.AppBarLayout
 android:id="@+id/appbar"
 android:layout_width="match_parent"
 android:layout_height="wrap_content"
 android:theme="@style/ThemeOverlay.AppCompat.Dark.ActionBar">
 <android.support.v7.widget.Toolbar
 android:id="@+id/toolbar"
 android:layout_width="match_parent"
 android:layout_height="wrap_content"
 android:elevation="4dp"
 android:background="?attr/colorPrimary" />
 </android.support.design.widget.AppBarLayout>
</android.support.design.widget.CoordinatorLayout>
Step 15: Open Solution Explorer-> Project Name->Resources->Layout->Main.axml. Click to open Design View and the code, given below,
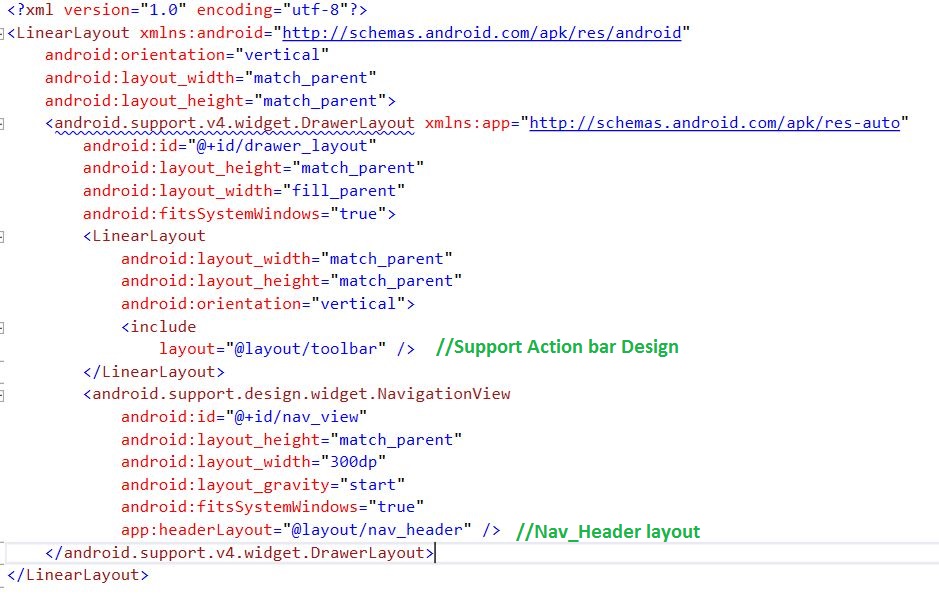
 <?xml version="1.0" encoding="utf-8"?>
 <LinearLayout xmlns:android="http://schemas.android.com/apk/res/android"
 android:orientation="vertical"
 android:layout_width="match_parent"
 android:layout_height="match_parent">
 <android.support.v4.widget.DrawerLayout xmlns:app="http://schemas.android.com/apk/res-auto"
 android:id="@+id/drawer_layout"
 android:layout_height="match_parent"
 android:layout_width="fill_parent"
 android:fitsSystemWindows="true">
 <LinearLayout
 android:layout_width="match_parent"
 android:layout_height="match_parent"
 android:orientation="vertical">
 <include layout="@layout/toolbar" />
 </LinearLayout>
 <android.support.design.widget.NavigationView
 android:id="@+id/nav_view"
 android:layout_height="match_parent"
 android:layout_width="300dp"
 android:layout_gravity="start"
 android:fitsSystemWindows="true"
 app:headerLayout="@layout/nav_header" />
 </android.support.v4.widget.DrawerLayout>
 </LinearLayout>
Step 16: After Design view creation, open Solution Explorer-> Project Name->MainActivity.cs and the steps, given below:
Step 17: Add below Namespaces and Theme Name,
 using Android.Support.V7.App;
 using Android.Support.V4.Widget;
 using V7Toolbar = Android.Support.V7.Widget.Toolbar;
 using Android.Support.Design.Widget;
 [Activity(Theme = "@style/Theme.DesignDemo"])
Step 18: Create Drawer Layout and Navigation View variable, declare the Drawer Layout and Navigation View within the OnCreate().before to change the Activity to AppCompatActivity.
 protected override void OnCreate(Bundle bundle)
 {
 base.OnCreate(bundle);
 // Set our view from the "main" layout resource
 SetContentView(Resource.Layout.Main);
 drawerLayout = FindViewById < DrawerLayout > (Resource.Id.drawer_layout);
 // Create ActionBarDrawerToggle button and add it to the toolbar
 var toolbar = FindViewById < V7Toolbar > (Resource.Id.toolbar);
 SetSupportActionBar(toolbar);
 var drawerToggle = new ActionBarDrawerToggle(this, drawerLayout, toolbar, Resource.String.drawer_open, Resource.String.drawer_close);
 drawerLayout.SetDrawerListener(drawerToggle);
 drawerToggle.SyncState();
 navigationView = FindViewById < NavigationView > (Resource.Id.nav_view);
 setupDrawerContent(navigationView); //Calling Function
 }
 void setupDrawerContent(NavigationView navigationView)
 {
 navigationView.NavigationItemSelected += (sender, e) =>
 {
 e.MenuItem.SetChecked(true);
 drawerLayout.CloseDrawers();
 };
 }
 public override bool OnCreateOptionsMenu(IMenu menu)
 {
 navigationView.InflateMenu(Resource.Menu.nav_menu); //Navigation Drawer Layout Menu Creation
 return true;
 }
Step 19: Press F5 or build and run the Application.
Download Source Code Here
Finally, we successfully created Xamarin Android Navigation Drawer Layout Android Support Design.

Anbu Mani(Microsoft MVP) is working Software Engineer in Changepond Technologies, Chennai, Tamilnadu, India. Having 4+ years of experience and his area of interest is C#, ASP.NET, SQL Server, Xamarin and Xamarin Forms,Azure…etc
if you want only item selected to be true , must change code to this code:
var size = navigationView.Menu.Size();
for (int i = 0; i < size; i++)
{
var item= navigationView.Menu.GetItem(i).SetChecked(false);
if (item.HasSubMenu)
{
for (int j = 0; j < item.SubMenu.Size(); j++)
{
item.SubMenu.GetItem(j).SetChecked(false);
}
}
}
e.MenuItem.SetChecked(true);
drawerLayout.CloseDrawers();
Thanks
i have a problem add fragment in your tutorial
https://stackoverflow.com/questions/50840801/xamarin-android-appcompat-drawer-and-toolbar-does-not-display-fragment
can u help me ?
What Issues you are facing ?
How to write Code for menu items in navigation
Like home ,message etc
Use below code :-
HomeNavigationView.NavigationItemSelected += HomeNavigationView_NavigationItemSelected;
private void HomeNavigationView_NavigationItemSelected(object sender, NavigationView.NavigationItemSelectedEventArgs e)
{
var menuItem = e.MenuItem;
Intent intent;
switch (menuItem.ItemId)
{
case Resource.Id.nav:
intent = new Intent(this, typeof(PageName));
StartActivity(intent);
break;
}
}
Hello? I have errors with android manifest file and I cannot solve them even though all steps have been followed?
Hi ..May I know the Error?
Sorted it out, it just kept opening an android manifest from another open project which I did not realise but eventually started working so thank you!