
Create Android Simple List View App
Let’s start,
Step 1 : Open Visual Studio->New Project->Templates->Visual C#->Android, then Select Blank App, then give Project Name and Project Location.

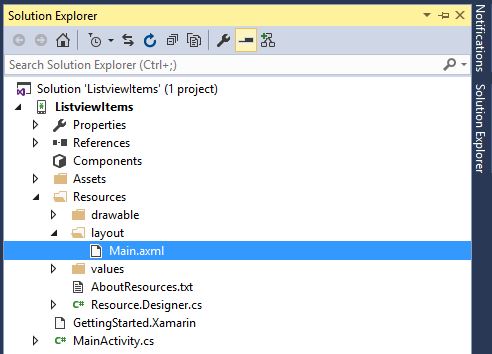
Step 2 : Next, Open Solution Explorer->Project Name->Resources->layout, then Main.axml. After that click Open Design View.
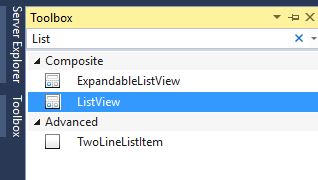
Step 3 : Go to Toolbar, select ListView, Drag and Drop in Design Page and then change id as android:id=”@+id/listView1″.
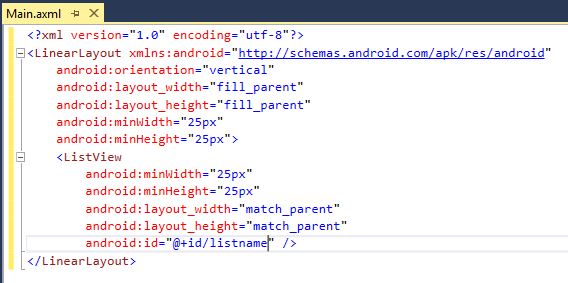
XMLCode :-
 <?xml version="1.0" encoding="utf-8"?>
 <LinearLayout
 xmlns:android="http://schemas.android.com/apk/res/android"
 android:orientation="vertical"
 android:layout_width="fill_parent"
 android:layout_height="fill_parent"
 android:minWidth="25px"
 android:minHeight="25px">
 <ListView
 android:minWidth="25px"
 android:minHeight="25px"
 android:layout_width="match_parent"
 android:layout_height="match_parent"
 android:id="@+id/listView1" />
 </LinearLayout>
Step 4 : Next, Open Solution Explorer->Project Name-> MainAtivity.cs and then click to open C# Code.
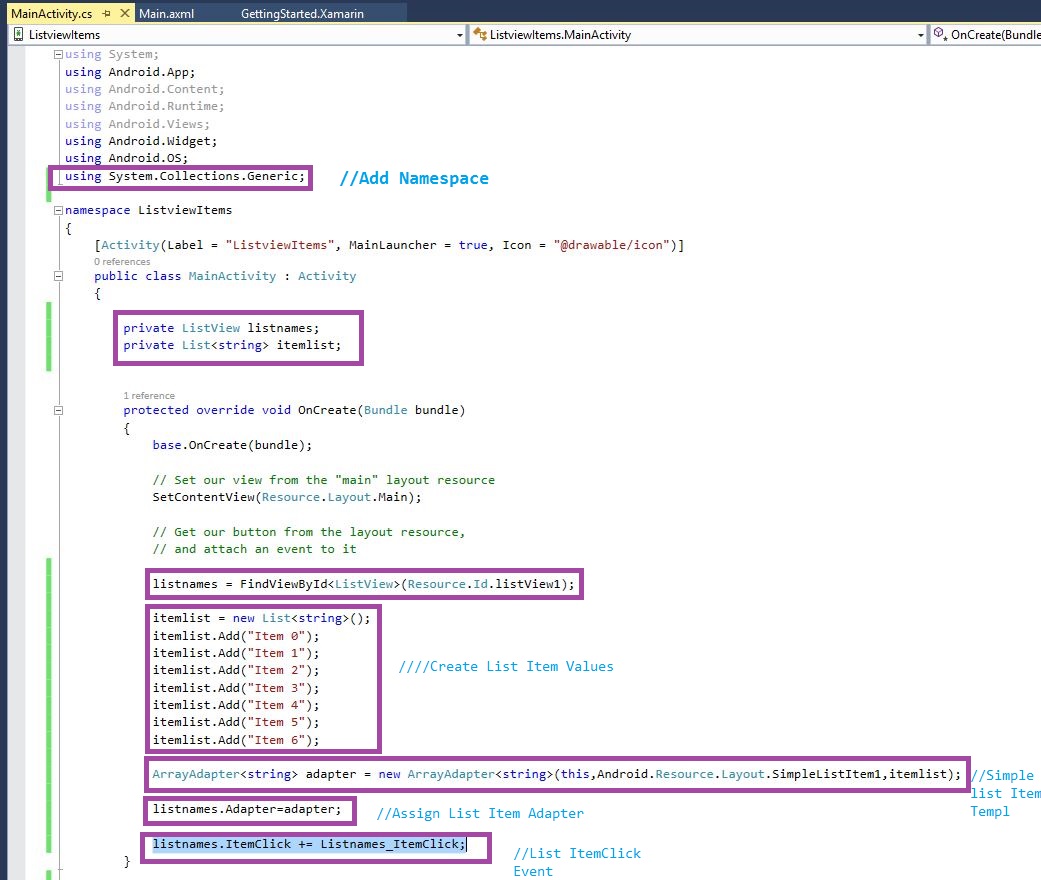
Here, first we add Namespace and then declare variables of ListView items. Go to OnCreate(), create the ListItem Values, then add in Adapter.
Create ListItemClick Event : listnames.ItemClick += Listnames_ItemClick;

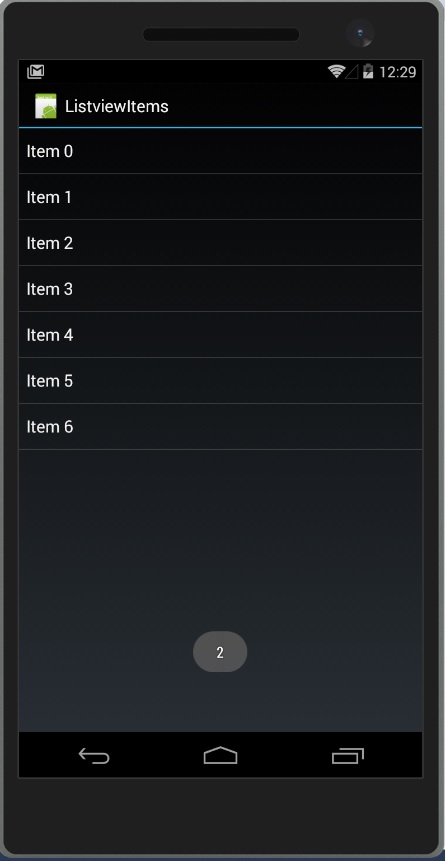
Step 5 – Press F5 or Build and Run the Application
Download Source here
Finally, we have successfully created a Xamarin Android ListView App.

Anbu Mani(Microsoft MVP) is working Software Engineer in Changepond Technologies, Chennai, Tamilnadu, India. Having 4+ years of experience and his area of interest is C#, ASP.NET, SQL Server, Xamarin and Xamarin Forms,Azure…etc