
Implementing Angular AuthGuard

Introduction:
Guarding routes means whether we can visit a route or not. We can use a route guard in Angular using these simple steps:
Step 1 :
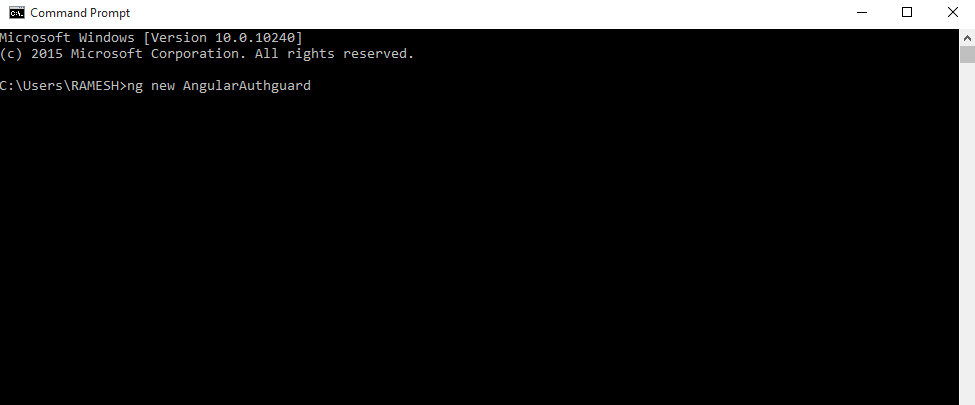
Create an angular app
The command to create new angular app “ng new <AngularAuthguard>”. Let’s create an angular app using the following commands.
Step 2:
Let’s open your created app. Create Authguard with the following command, ”ng g guard <Authguardname>” .
Step 3:
The next step is to choose the CanActivate.

CanActivateInterface -Canactivate it is an angular interface.used for users to log in to the application before navigating the route.
Step 4 :
Create a service using the following command, “ng g s <myService>”.

Service – Angular service is used for ones you created the project using the lifetime of an application. The main advantage of service one is that the backend value shares multiple components.
Why use services?
Angular service methods can be invoked from any component of Angular, like Controllers, Directives, etc. This helps in dividing the web application into small, different logical units that can be reused.
Step 5 :
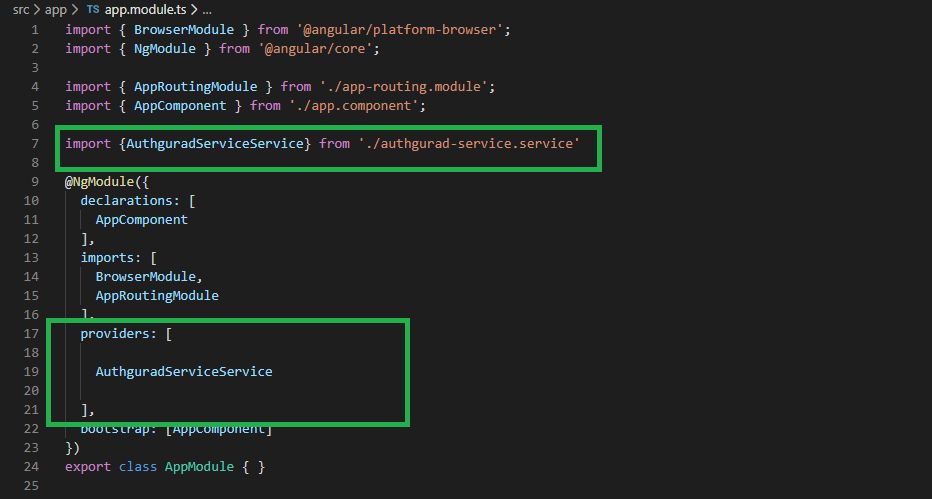
Once you create the service file, you can add appmodule.ts with the following code.
Step 6 :
import { NgModule } from '@angular/core';
import { Routes, RouterModule } from '@angular/router';
Routing :
Routing Makes your application as SPA. That way we can use Routing in our application.
RouterModule – Is a separate module in angular that provides required services and directives to use routing and navigation in angular application.
Routes – Defines an array of roots that map a path to a component.
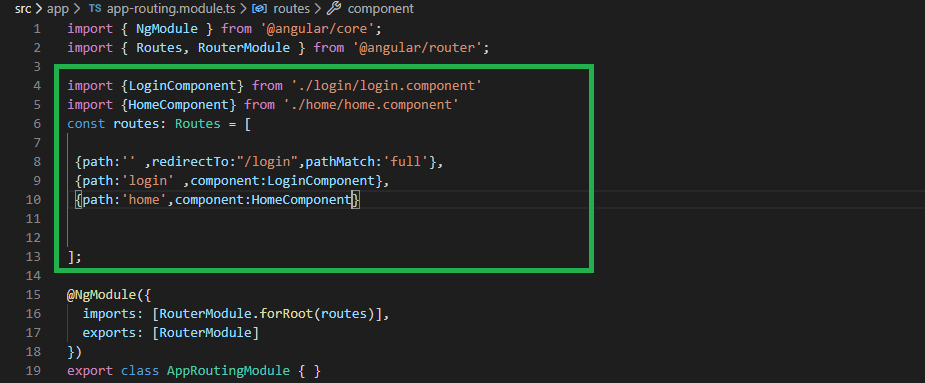
Create an Array of Routes :
The path property describes the URL this route will handle.
The component property is the name of the component we want to display when the URL in the browser matches this path.
Using RouterModule.forRoot() :
@NgModule({
  imports: [RouterModule.forRoot(routes)],
  exports: [RouterModule]
})
Now we need to import RouterModule.forRoot(routes) using imports metadata of @NgModule.
Here argument routes are our constant that we have defined above as an array of Routes.
The forRoot() method returns an NgModule and its provider dependencies.
Step 7 :
Let’s create the component and add the routing.ts file, given below :
Step 8 :
Open the authentication.guard.ts file and change the code to what is given below:

Boolean – Represents value in two states: true or false.
Step 9 :
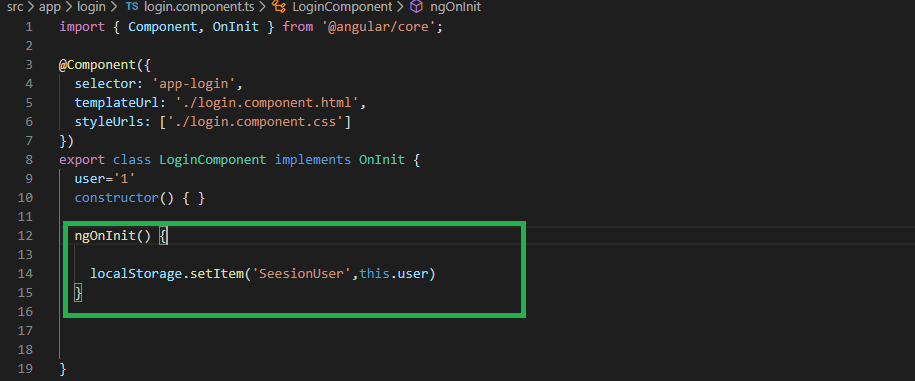
Store the user session details in your login page and call the ngOnInt, for giving the below code.
ngOnInit() {

    localStorage.setItem('SeesionUser',this.user)
  }
Step 10 :
Open AuthguardService.ts file get your local storage data.
import { Injectable } from '@angular/core';

@Injectable({
  providedIn: 'root'
})
export class AuthguradServiceService {

  constructor() {

   }
   gettoken(){

  debugger;
    return !!localStorage.getItem("SeesionUser");

}

}
Web Storage Types :
- SessionStorage
- LocalStorage
Step 11 :
The canActivate() method from AuthGuard returns true only when the route can be navigated. In the case of a false value, navigation can be redirected to the login page.
constructor(

private Authguardservice:AuthguradServiceService  ,
private router:Router
)
{

}
  canActivate () :boolean

     {

      if(!this.Authguardservice.gettoken())
      {

        this.router.navigateByUrl("/login");

      }
      return this.Authguardservice.gettoken();
    }
}
Step 12 :
Open the app.component.html file. You can add the routeroutlet following the below code .
<router-outlet></router-outlet>Routeroutlet:
- RouterOutlet is a directive provided by Angular which is used to load the different components based on the router state.
- Whenever the user clicks on the link, at a time the activated component will be rendered and added to HTML DOM inside the router-outlet directive.
Step 13 :
Use canActivate property of Route interface to guard the route and assign service class implementing CanActivate interface, for example, AuthGuard. Now find the canActivate property used in route declarations.
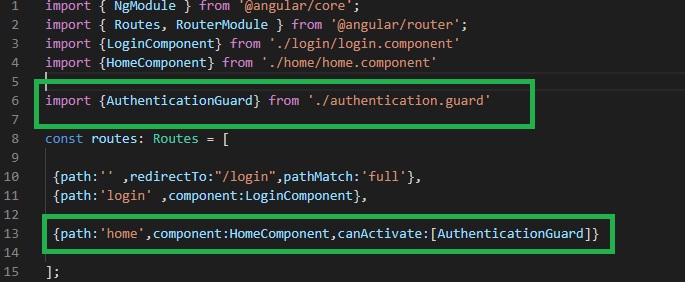
import { NgModule } from '@angular/core';
import { Routes, RouterModule } from '@angular/router';
import {LoginComponent} from './login/login.component'
import {HomeComponent} from './home/home.component'
import {AuthenticationGuard} from './authentication.guard'

const routes: Routes = [

 {path:'' ,redirectTo:"/login",pathMatch:'full'},
 {path:'login' ,component:LoginComponent},
 {path:'home',component:HomeComponent,canActivate:[AuthenticationGuard]}

];
@NgModule({
  imports: [RouterModule.forRoot(routes)],
  exports: [RouterModule]
})
export class AppRoutingModule { }
Summary :
In this article, we learned how to implement Authguard in an Angular project.

Hello this is Haridhass, working as Software Developer in Congenial Studioss for more than 2+ years. Skilled in Angular,C#.NET, NodeJs,SQL Server,WebApi,Html,CSS,JavaScript,TypeScript