
Create ViewPager, TabLayout, FloatingActionButton, SupportActionBar Using XamarinAndroidSupportDesign
Let’s Start,
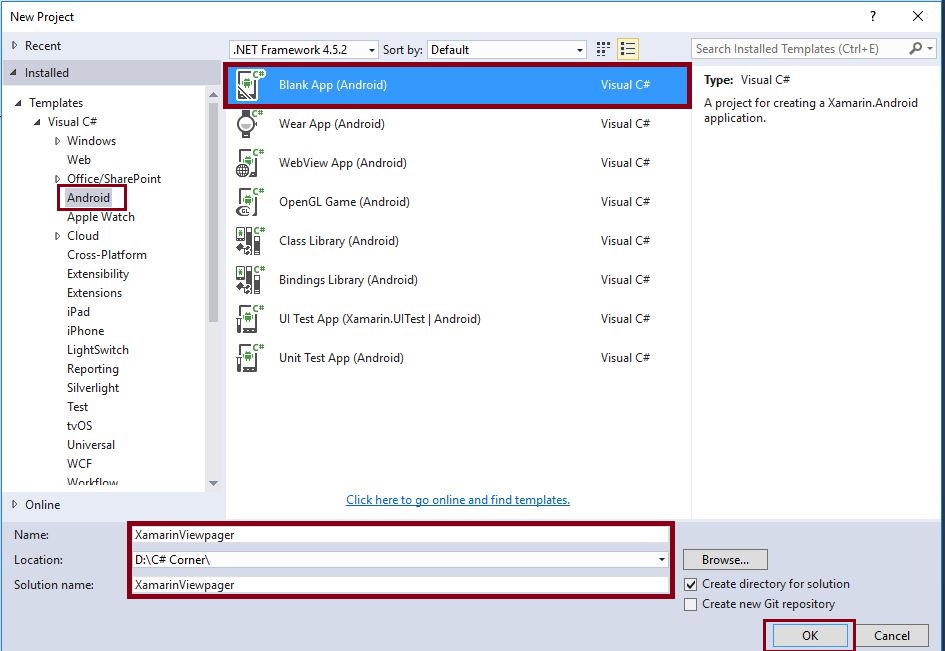
Step 1: Open Visual Studio->New Project->Templates->Visual C#->Android->Blank App. Then, give Project Name and Project Location.
Step 2 : Next, go to Solution Explorer-> Project Name-> Components and right click to get More Components. Open a new dialog box. Use this dialog box to search the Support v4. Then, add the Android Support Library v4 packages.

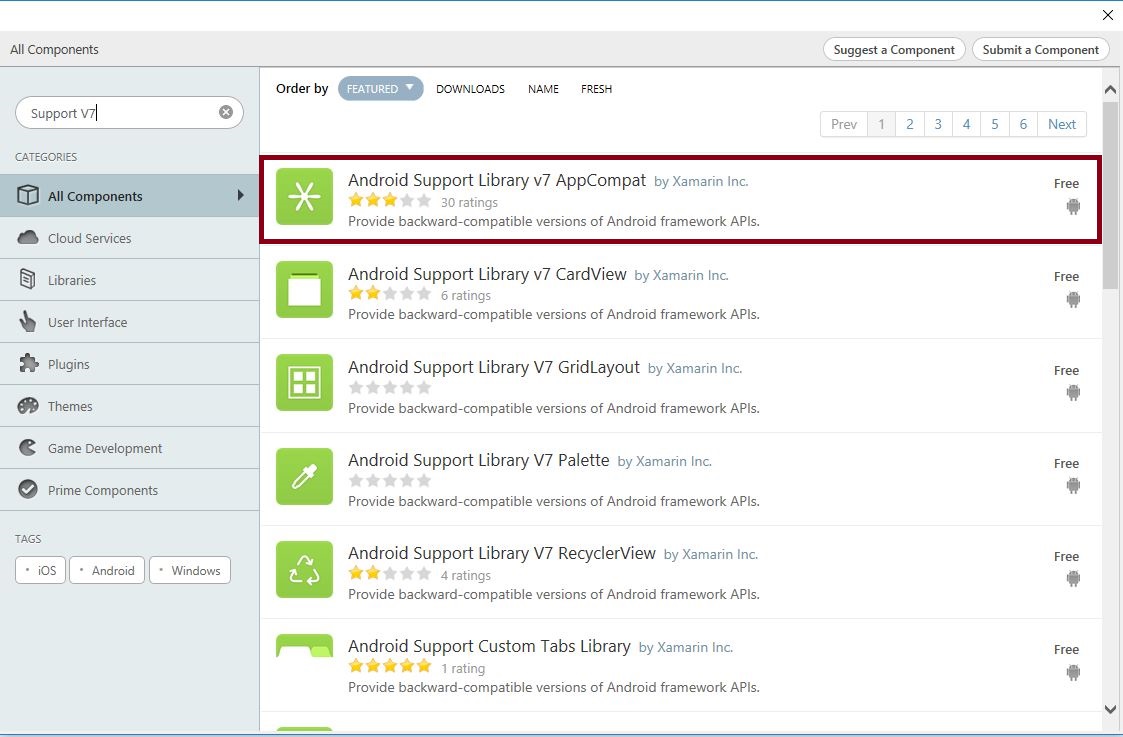
Step 3 : Next, go to Solution Explorer-> Project Name-> Components. Right click to get more components and open a new dialog box. In this dialog box, search the Support v7. Then, add the Android Support v7 AppCompat packages.
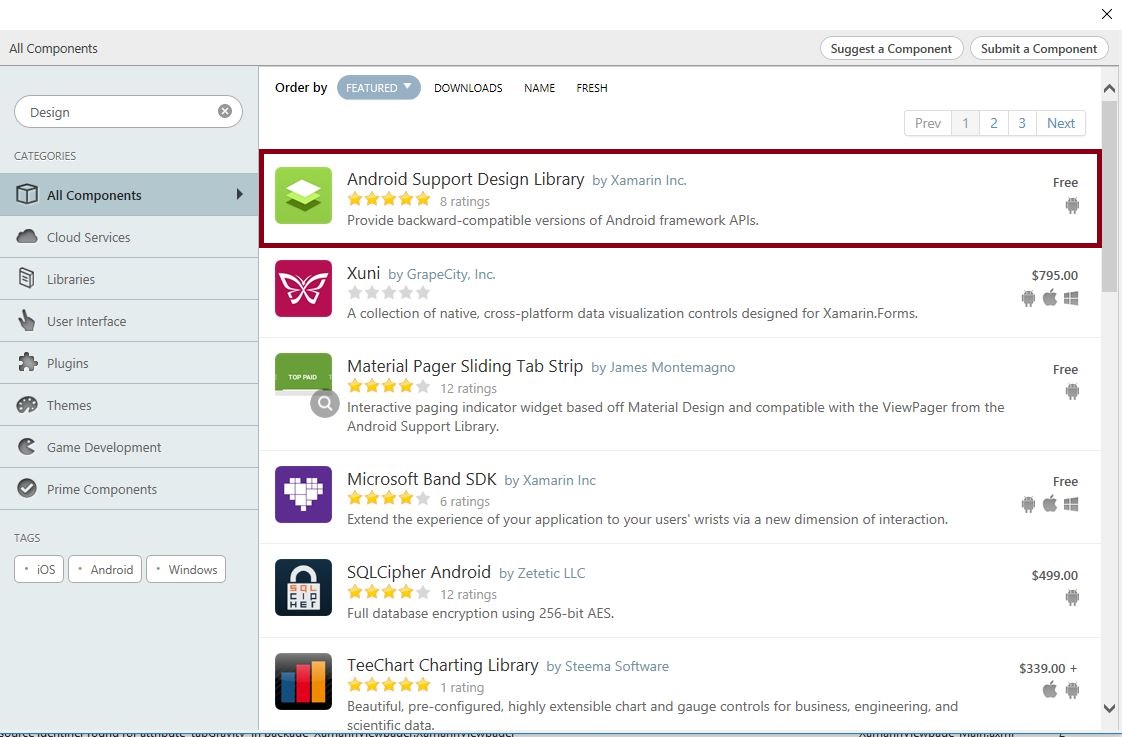
Step 4 : Next, go to Solution Explorer-> Project Name-> Components. Right click to get more components and open a new dialog box. In this dialog box, search for the Design. Then, add the Android Support Design Library packages.
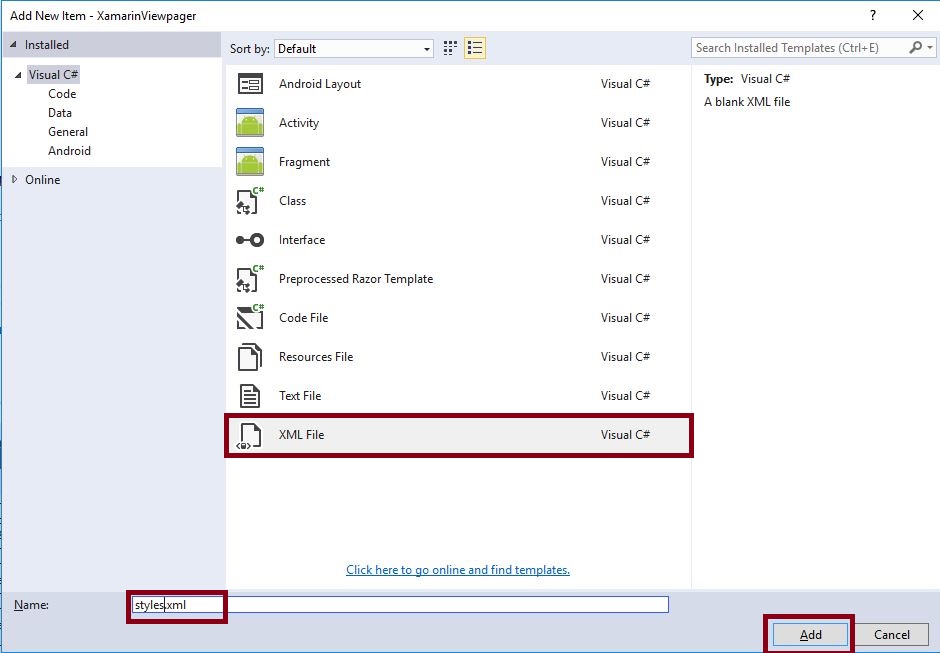
Step 5 : Before starting the Design View, it needs Theme.AppCompat.Light.NoActionBar. So, we create style.xml file. Go to Solution Explorer-> Project Name->Resources->values. Right click to Add->New Item and then, open a new dialog box. Then, select xml file and name it as styles.xml.
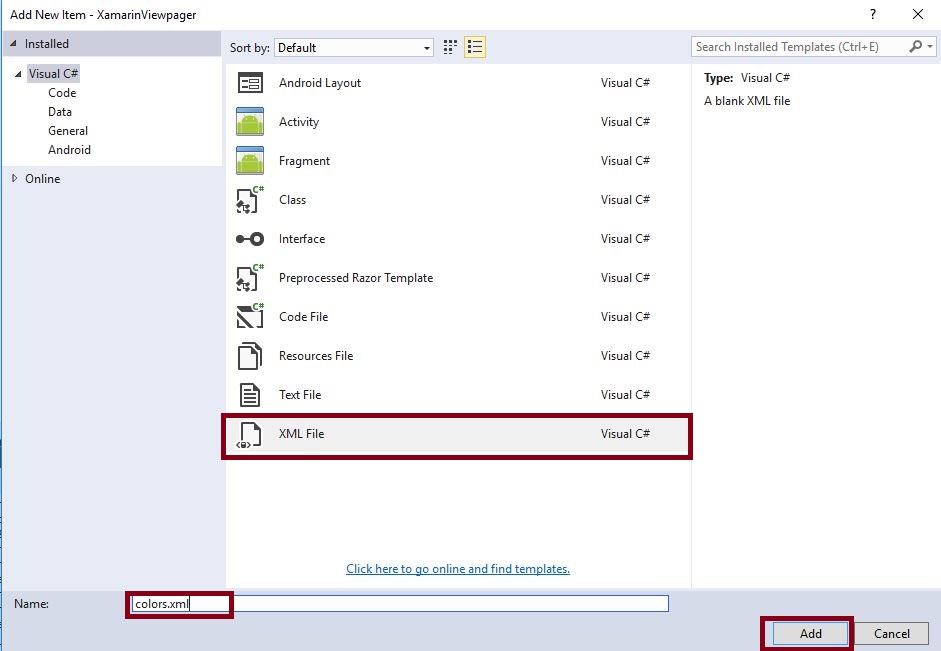
Step 6 : Next, we need to create color.xml file. Go to Solution Explorer-> Project Name->Resources->values. Right click to Add->New Item. Then, open a new dialog box. Selet an xml file and name it as colors.xml.
Step 7 : Now, open Solution Explorer-> Project Name->Resources->values->colors.xml. Click to open the Design View and give the following code.
 <?xml version="1.0" encoding="utf-8" ?>
 <resources>
 <color name="ColorPrimary">#2196F3</color>
 <color name="ColorPrimaryDark">#1976D2</color>
 </resources>
Step 8 : Next, open Solution Explorer-> Project Name->Resources->values->styles.xml. Click to open Design View and paste the following code.
 <?xml version="1.0" encoding="utf-8" ?>
 <resources>
 <style name="Theme.DesignDemo" parent="Base.Theme.DesignDemo">

 </style>
 <style name="Base.Theme.DesignDemo" parent="Theme.AppCompat.Light.NoActionBar">
 <item name="colorPrimary">@color/ColorPrimary</item> <item name="colorPrimaryDark">@color/ColorPrimaryDark</item>
 </style>
 <style name="MyCustomTabLayout" parent="Widget.Design.TabLayout">
 <item name="tabTextColor">#707070</item> <item name="tabSelectedTextColor">#00A859</item> <item name="tabIndicatorColor">#00A859</item> <item name="android:textStyle">bold</item> <item name="tabTextAppearance">@style/TextAppearance.AppCompat.Subhead.Inverse</item>
 </style>
 </resources>
Here, the name for MyCustomTabLayout is showing TabLayout in Design view.
Step 9 : Again, open Solution Explorer-> Project Name->Resources->layout ->Main.axml. Click to open the Design View and give the following code.
 <?xml version="1.0" encoding="utf-8"?>
 <android.support.design.widget.CoordinatorLayout
 xmlns:android="http://schemas.android.com/apk/res/android"
 xmlns:app="http://schemas.android.com/apk/res-auto"
 android:id="@+id/main_content"
 android:layout_width="match_parent"
 android:layout_height="match_parent">
 <android.support.design.widget.AppBarLayout
 android:id="@+id/appbar"
  android:layout_width="match_parent"
 android:layout_height="wrap_content"
 android:theme="@style/ThemeOverlay.AppCompat.Dark.ActionBar">
 <android.support.v7.widget.Toolbar
 android:id="@+id/toolbar"
 android:layout_width="match_parent"
 android:layout_height="?attr/actionBarSize"
 android:background="#33B86C"
 app:popupTheme="@style/ThemeOverlay.AppCompat.Light" />
 <android.support.design.widget.TabLayout
 android:id="@+id/tabs"
 android:layout_width="match_parent"
 app:tabGravity="fill"
 app:tabMode="fixed"
 app:tabIndicatorHeight="4dp"
 android:background="#FEFEFE"
 style="@style/MyCustomTabLayout"
 android:layout_height="wrap_content" />
 </android.support.design.widget.AppBarLayout>
 <android.support.v4.view.ViewPager
 android:id="@+id/viewpager"
 android:layout_width="match_parent"
 android:layout_height="match_parent"
 app:layout_behavior="@string/appbar_scrolling_view_behavior" />
 <android.support.design.widget.FloatingActionButton
 android:id="@+id/fab"
 android:layout_width="wrap_content"
 android:layout_height="wrap_content"
 android:layout_gravity="end|bottom"
 android:layout_margin="15dp"
 android:src="@drawable/ic_done" />
 </android.support.design.widget.CoordinatorLayout>
Step 10: After Design view creation open Solution Explorer-> Project Name->MainActivity.cs then following below steps.
Step 11: Add below Namespaces,
using Android.Support.V4.View;
using Android.Support.V7.App;
using Android.Support.Design.Widget;
using V4Fragment = Android.Support.V4.App.Fragment;
using V4FragmentManager = Android.Support.V4.App.FragmentManager;
using System.Collections.Generic;
using V7Toolbar = Android.Support.V7.Widget.Toolbar;
Step 12 : Now, we need to create ViewPager variable and declare the viewpager within the OnCreate(). Before it, we need to change the Activity in AppCompatActivity.
C# Code :
 //SupportActionBar
 SetSupportActionBar(toolbar);
 SupportActionBar.SetIcon(Resource.Drawable.Icon);
 //ViewPager
 viewpager = FindViewById < Android.Support.V4.View.ViewPager > (Resource.Id.viewpager);
 var toolbar = FindViewById < V7Toolbar > (Resource.Id.toolbar);
 setupViewPager(viewpager); //Calling SetupViewPager Method
 //TabLayout
 var tabLayout = FindViewById < TabLayout > (Resource.Id.tabs);
 tabLayout.SetupWithViewPager(viewpager);
 //FloatingActionButton
 var fab = FindViewById < FloatingActionButton > (Resource.Id.fab);
 fab.Click += (sender, e) => {
 Snackbar.Make(fab, "Here's a snackbar!", Snackbar.LengthLong).SetAction("Action", v => Console.WriteLine("Action handler")).Show();
 };
Step 13: Next step is to create setupViewPager() method. We need to create some fragment page. So, we create fragment class and two axml design pages.
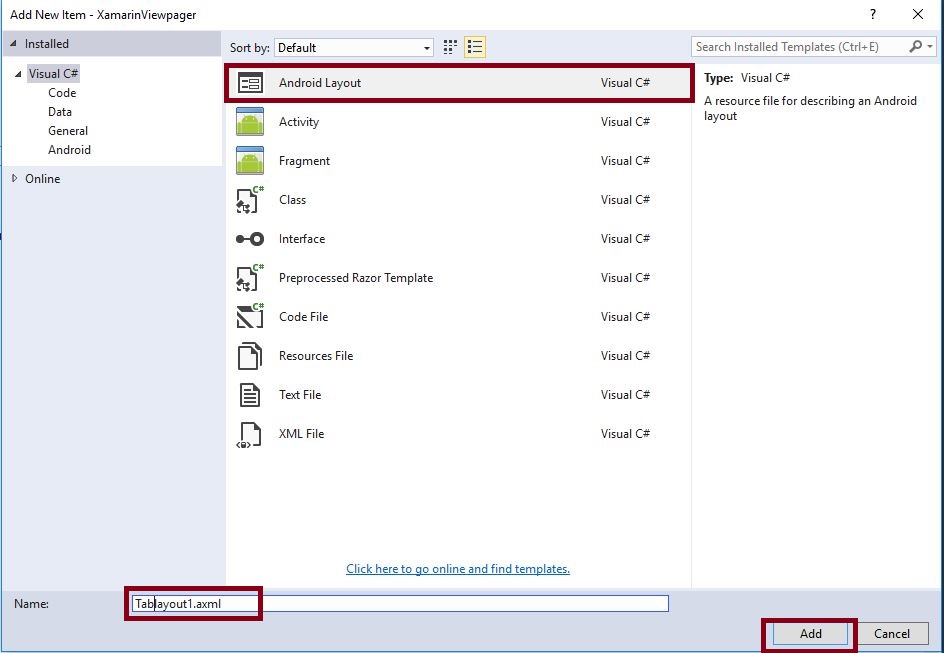
Step 14 : Go to Solution Explorer-> Project Name->Resources->layout. Right click to Add->New Item and then, open a new dialog box. Then, select Android Layout and name it as Tablayout1.axml.
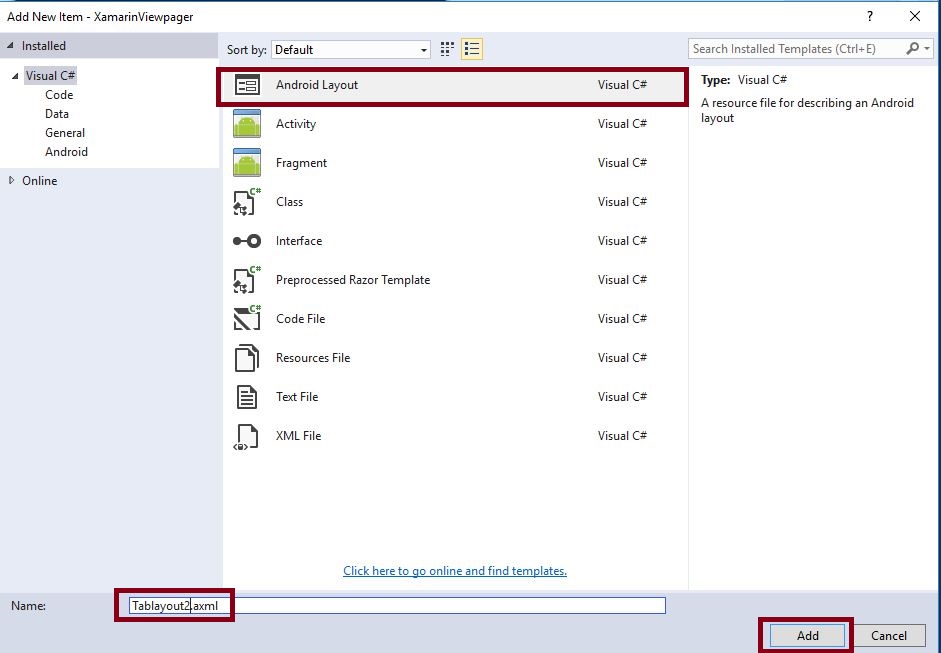
Step 15 : Go to Solution Explorer-> Project Name->Resources->layout. Right click to Add->New Item and open a new dialog box. Then, select Android Layout and give it a name as Tablayout2.axml.
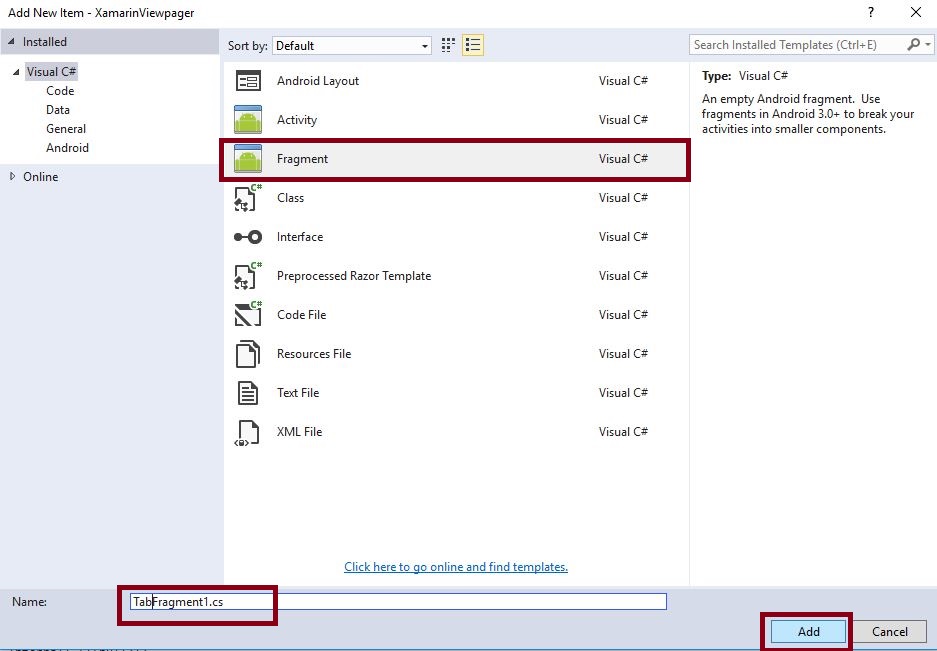
Step 16 : Go to Solution Explorer-> Project Name. Right click to Add->New Item and then, open a new dialog box. Then, select Fragment and name it as TabFragment1.cs.
Step 18 : Now, open Solution Explorer-> Project Name->Resources->layout ->Tablayout1.axml. Click on open Design View and use following code.
 <TextView
  android:text="First Page"
 android:textAppearance="?android:attr/textAppearanceLarge"
 android:layout_width="match_parent"
 android:layout_height="wrap_content"
 android:id="@+id/textView1" />
Step 19 : Next, open Solution Explorer-> Project Name->Resources->layout ->Tablayout2.axml. Click to open Design View and paste the following code.
<TextView
android:text="Second Page"
android:textAppearance="?android:attr/textAppearanceLarge"
android:layout_width="match_parent"
android:layout_height="wrap_content"
android:id="@+id/textView1" />
Step 20 : After the creation of Design View, we need to open Solution Explorer-> Project Name->TabFragment1.cs. Then, create View and Change Fragment to Fragment,
 public override View OnCreateView(LayoutInflater inflater, ViewGroup container, Bundle savedInstanceState)
 {
 var v = inflater.Inflate(Resource.Layout.Tablayout1, container, false);
 return v;
 }
Step 21: Next, open Solution Explorer-> Project Name->TabFragment2.cs. Then, create View and Change Fragment to Fragment,
public override View OnCreateView(LayoutInflater inflater, ViewGroup container, Bundle savedInstanceState)
{
var v = inflater.Inflate(Resource.Layout.Tablayout2, container, false);
return v;
}
Step 22: Again, we need to open the MainActivity.cs to create SetupViewpager() after OnCreaete().
 void setupViewPager(Android.Support.V4.View.ViewPager viewPager)
 {
 var adapter = new Adapter(SupportFragmentManager);
 adapter.AddFragment(new TabFragment1(), "First Fragment");
 adapter.AddFragment(new TabFragment2(), "Second Fragment");
 viewPager.Adapter = adapter;
 viewpager.Adapter.NotifyDataSetChanged();
 }
Here, we use SupportFragmentManager to create New Adapter Class below the setupViewPager.
Adapter Class :
C# Code:
lass Adapter: Android.Support.V4.App.FragmentPagerAdapter {
 List < V4Fragment > fragments = new List < V4Fragment > ();
 List < string > fragmentTitles = new List < string > ();
 public Adapter(V4FragmentManager fm): base(fm) {}
 public void AddFragment(V4Fragment fragment, String title) {
 fragments.Add(fragment);
 fragmentTitles.Add(title);
 }
 public override V4Fragment GetItem(int position) {
 return fragments[position];
 }
 public override int Count {
 get {
 return fragments.Count;
 }
 }
 public override Java.Lang.ICharSequence GetPageTitleFormatted(int position) {
 return new Java.Lang.String(fragmentTitles[position]);
 }
}
Step 23: Press F5 or Build and Run the Application.
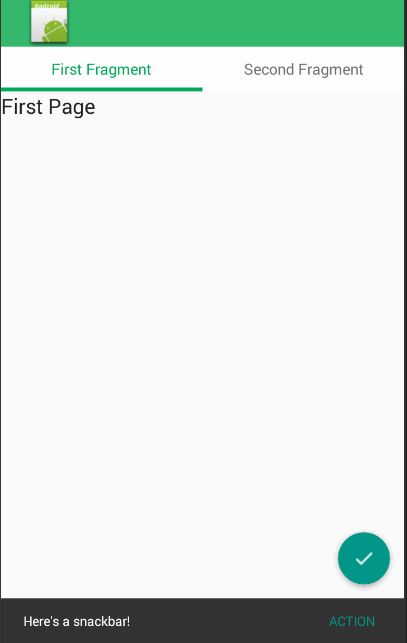
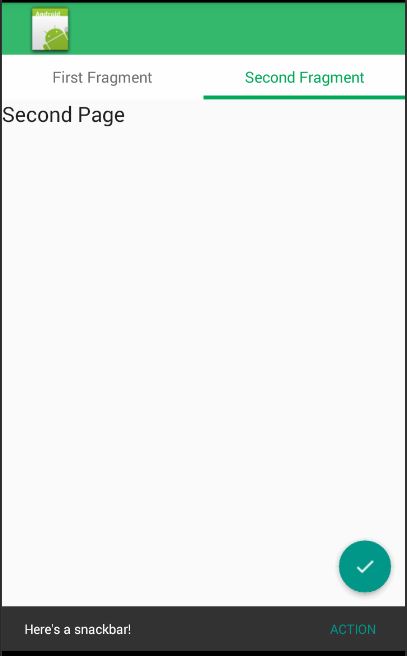
Finally, we have successfully created the Xamarin Android Viewpager, Tablayout, FloatingAction, SupportActionBar using XamarinAndroidSupportDesign.

Anbu Mani(Microsoft MVP) is working Software Engineer in Changepond Technologies, Chennai, Tamilnadu, India. Having 4+ years of experience and his area of interest is C#, ASP.NET, SQL Server, Xamarin and Xamarin Forms,Azure…etc