
AngularMattable And Angular Pagination
Introduction:
This table builds on the foundation of the cdk data-table and uses a similar interface for its data input and template. Pagination is a component that only displays page numbers. It will not manipulate your data collection. You will have to split your data collection into pages yourself.
Step 1:
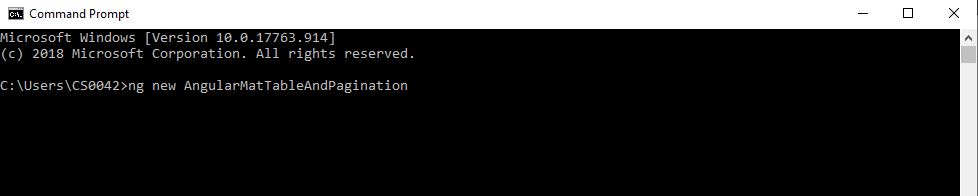
Let’s open the command prompt. Create an Angular project by using the following command,
Step 2:
Let’s open the your created project in the Visual Studio Code and install the following command,

Step 3:
Add app.module.ts page with the below code to import the references for Angular material.
import { MatTableModule,MatPaginatorModule } from '@angular/material';
imports: [
  MatTableModule,
  MatPaginatorModule,
 ],

Step 4:
After importing the module into your app module, you can now use the Material table app.component.ts import the references for MatPaginator and MatTableDataSource in your application.
import { Component,OnInit,ViewChild} from '@angular/core';
import { MatPaginator, MatTableDataSource } from '@angular/material'; 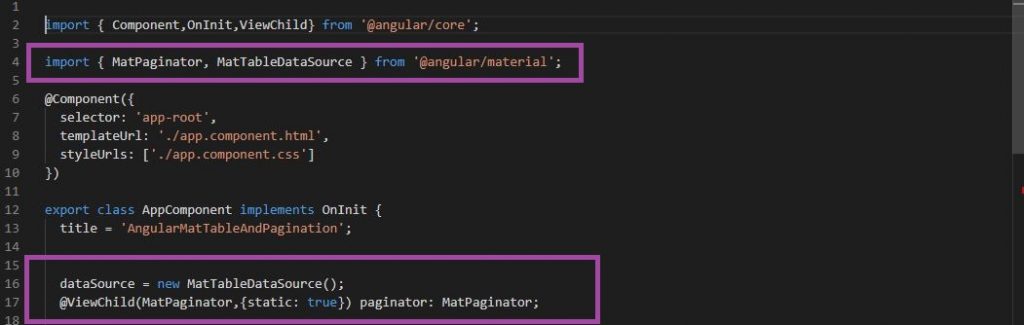
OnInit – Called once the component Initialized
 dataSource = new MatTableDataSource();
@ViewChild(MatPaginator,{static: true}) paginator: MatPaginator;
@ViewChild – Decorator is used for referencing elements from the components view DOM.
Step 5:
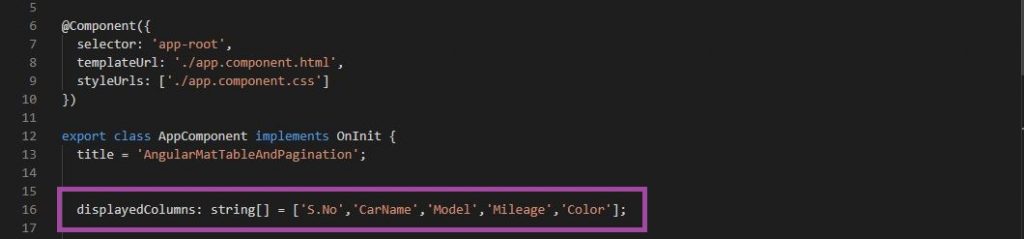
displayedColumns – Let’s add an array of strings to the displayedColumns and pass the array value to the matColumnDef directive.
Step 6:
Let’s create an array list of shows the details, shown below.
carDetails=[
   {carname:'Hummer',model:'H3',milleage:'196321',color:'Pink'},
   {carname:'Chevrolet',model:'1500 Silverado',milleage:'195310',color:'Blue'},
   {carname:'Infiniti',model:'M',milleage:'194846',color:'Puce'},
   {carname:'Kia',model:'Amanti',milleage:'189651',color:'Indigo'},
   {carname:'Audi',model:'S5',milleage:'644541',color:'white'},
   {carname:'GMC',model:'EnvoyXUV',milleage:'187960',color:'Turquoise'},
   {carname:'Honda ',model:'H3',milleage:'45435534',color:'Pink'},
   {carname:'Maruti ',model:'ado',milleage:'195310',color:'Blue'},
   {carname:'Honda ',model:'H',milleage:'4354356',color:'Puce'},
   {carname:'TataTigor ',model:'S6',milleage:'541554',color:'Pink'},
   {carname:'Mahindra',model:'Silver',milleage:'195310',color:'Black'},
   {carname:'RenaultKWID',model:'MH',milleage:'194846',color:'Fiery Red'},
   {carname:'MahindraKwe ',model:'M5',milleage:'196321',color:'Silver White'},
   {carname:'Chevrolet',model:'Silverado',milleage:'195310',color:'Blue'},
   {carname:'Infiniti',model:'M',milleage:'194846',color:'Puce'},
 ]
Step 7:
In app.component.html, add the table list code.
<table class="table table-bordered" mat-table [dataSource]="dataSource">
  <ng-container matColumnDef="S.No">
    <th class="headercolor" mat-header-cell *matHeaderCellDef>S.No</th>
    <td mat-cell *matCellDef="let data let i = index "> {{paginator.pageIndex * paginator.pageSize+i+1}}
    </td>
 </ng-container>
  <ng-container matColumnDef="CarName">
    <th class="headercolor" mat-header-cell *matHeaderCellDef> CarName </th>
    <td mat-cell *matCellDef="let data  "> {{data.carname}}</td>
  </ng-container>
  <ng-container matColumnDef="Model">
    <th class="headercolor" mat-header-cell *matHeaderCellDef> Model </th>
    <td mat-cell *matCellDef="let data"> {{data.model}} </td>
  </ng-container>
  <ng-container matColumnDef="Mileage">
    <th class="headercolor" mat-header-cell *matHeaderCellDef> Mileage </th>
    <td mat-cell *matCellDef="let data"> {{data.milleage}} </td>
  </ng-container>
  <ng-container matColumnDef="Color">
    <th class="headercolor" mat-header-cell *matHeaderCellDef> Color </th>
    <td mat-cell *matCellDef="let data"> {{data.color}} </td>
  </ng-container>
  <tr mat-header-row *matHeaderRowDef="displayedColumns"></tr>
  <tr mat-row *matRowDef="let row; columns: displayedColumns;"></tr>
</table>
ng-container – We can’t use more than one structural directive in a single element. In order to avoid having to create that extra div, we can instead use ng-container directive.
*matHeaderRowDef – The directive is used for the a configuration object , table, and the list of columns.
*matRowDef – This directive is used for the configuration for row cells.
*matColumnDef –For each table column the <ng-container> element is used and the matColumnDef directive is applied. String with the name of that column is assigned to this directive.
[datasource] – The data source for the table can get the data display using the datasource property.
Step 8:
Let’s add the mat-paginator in app.component.html file , Use the follwing code,
<mat-paginator class="pagnacolor" [pageSizeOptions]="[10]" showFirstLastButtons></mat-paginator> [pageSizeOptions] –The set of page size options to display with the details.
[showFirstLastButtons- Whether to show the first or last buttons UI to the details.
Step 9:
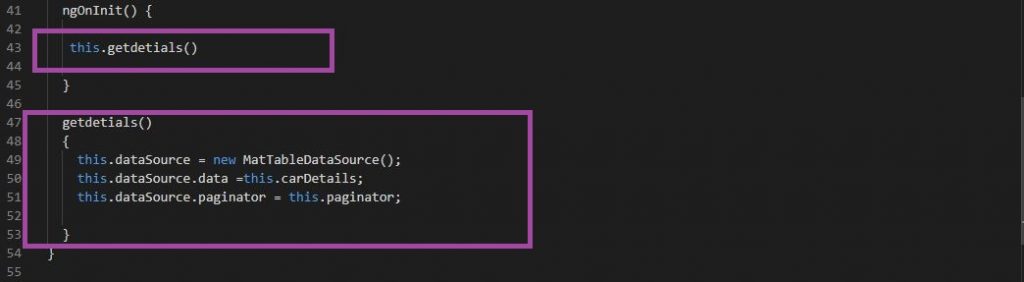
Simply need to get data from what you stored on array list and push it to your dataSource array and add the paginator in the app.component.ts file and add the following code,
getdetials()
  {
    this.dataSource = new MatTableDataSource();
    this.dataSource.data =this.carDetails;
    this.dataSource.paginator = this.paginator;
  }
The ngOnInit method of a component is called the getdetilas method
Follow the below screen screenshot,
Step 10:
We will use the following command to start the webserver.
ng serve –open
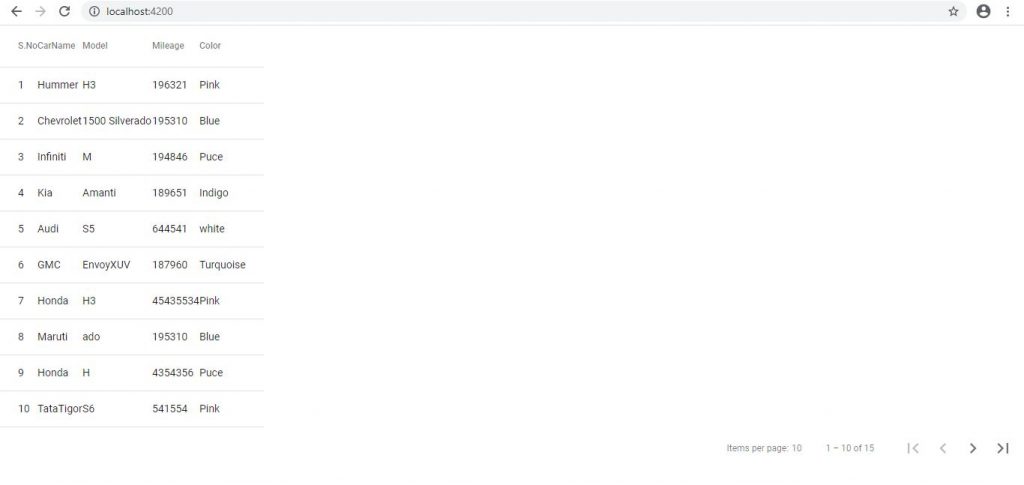
The above image can display the details for the first page.
Summary:
In this article, you have seen how you can add Material Design Table and pagination in your Angular application.

Hello this is Haridhass, working as Software Developer in Congenial Studioss for more than 2+ years. Skilled in Angular,C#.NET, NodeJs,SQL Server,WebApi,Html,CSS,JavaScript,TypeScript